Parts of a Suitcase: A Guide for Luggage Brands
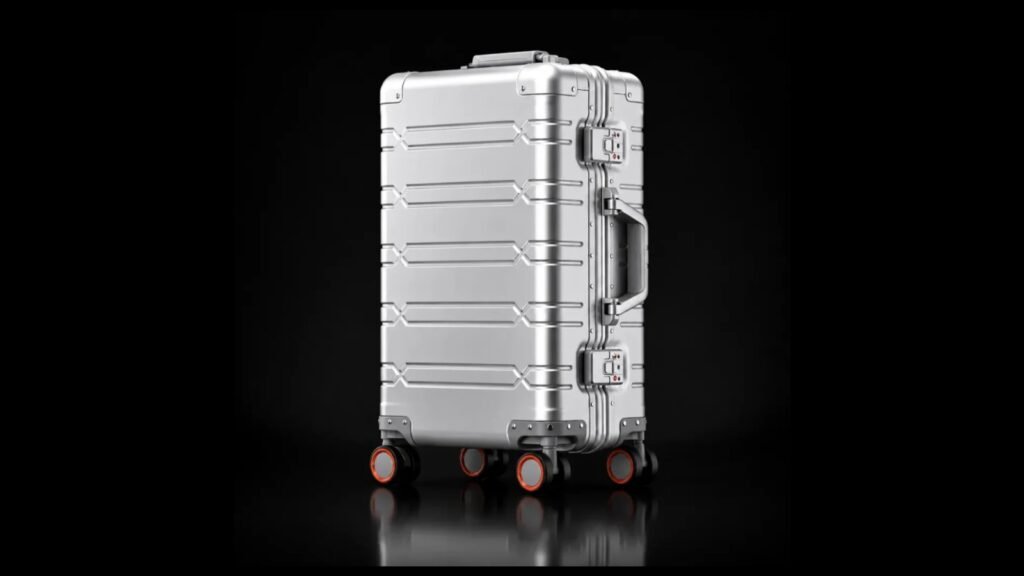
The main parts of a suitcase are the shell, closure, wheels, trolley handle, carry handles and interior storage components. You can customize an existing case by changing fittings, but a replacement must fit its mounting position without obstructing opening, packing or the finished dimensions.
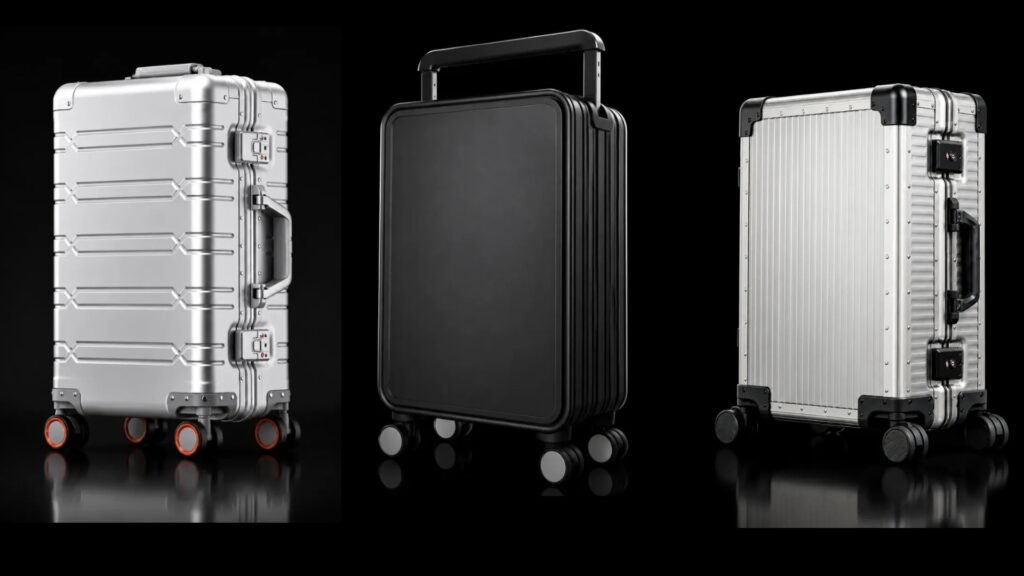
A wide trolley on one case can provide a design reference. Moving that complete assembly to another case also requires a check of the mounting points, retracted space and interior. The same applies to wheels: compare the mount and fixing method with the wheel assembly you want. Identifying the parts and the changes that belong together makes model selection and quotations clearer.
What are the different parts of a suitcase?
The table below groups common components around the exterior, opening and interior. Configurations vary. A main case may close with a frame and latches or with a zipper; front pockets, seals and side feet are not fitted to every model. Build the parts list around the selected case and its drawings.
| Part | Other names you may see | Location and function |
|---|---|---|
| Shell | Case body | Forms the case shape and main packing space, usually in two mating sections. |
| Frame | Closing frame | Runs around the main opening and works with the shell, latches and hinges to close the case. |
| Hinge | Case hinge | Connects the body and lid so they open in the intended direction. |
| Latch and lock | Locking latch | The latch holds the case closed; the lock secures it. Both functions can share one assembly. |
| Zipper | Zip closure | Can close the main case, front pocket or interior pocket. These are separate selection points. |
| Gasket | Seal | Fits an applicable closing edge and makes sealing contact when the frame closes. |
| Wheel assembly | Caster assembly | Sits beneath the case and includes the wheel and its supporting fork, axle and associated parts. |
| Wheel mount | Mounting base | Connects the assembly to the case. It may be integrated with the assembly or arranged separately. |
| Trolley handle | Telescopic pull handle | Includes the grip, telescopic tubes, release mechanism and mounts used to pull or push the case. |
| Carry handle | Top or side handle | Used to lift the case. Review it with its mounts and the attachment to the body. |
| Corner guard | Corner protector | Covers a corner area and contributes to the exterior appearance and color scheme. |
| Side feet | Glides | Support the case when placed on its side, reducing direct shell contact with the floor. |
| Lining | Interior lining | Covers the inner surfaces. It does not, by itself, define the complete storage layout. |
| Divider and pocket | Interior organizer | Separate packing areas and provide places for documents, clothing or smaller items. |
| Straps and buckles | Compression straps | Hold contents in place. Select their length, adjustment range and fixing positions together. |
| Logo plate | Badge | Carries the brand identity. Its position and fixing method must suit the shell, lining and nearby fittings. |
Include screws, rivets, washers and reinforcement parts in the component list as well. Two carry handles or wheel assemblies may look alike while using different mounting parts. Appearance alone does not establish that they are the same configuration.
Choose the shell and opening before the fittings
Specify the shell and frame separately
The shell forms the main body; the frame runs around its opening and establishes where the two sections meet. An aluminum shell can use a metal frame, and a plastic shell can also use an aluminum frame. The term “aluminum frame” describes part of the closure, not necessarily the material of the whole outer shell.
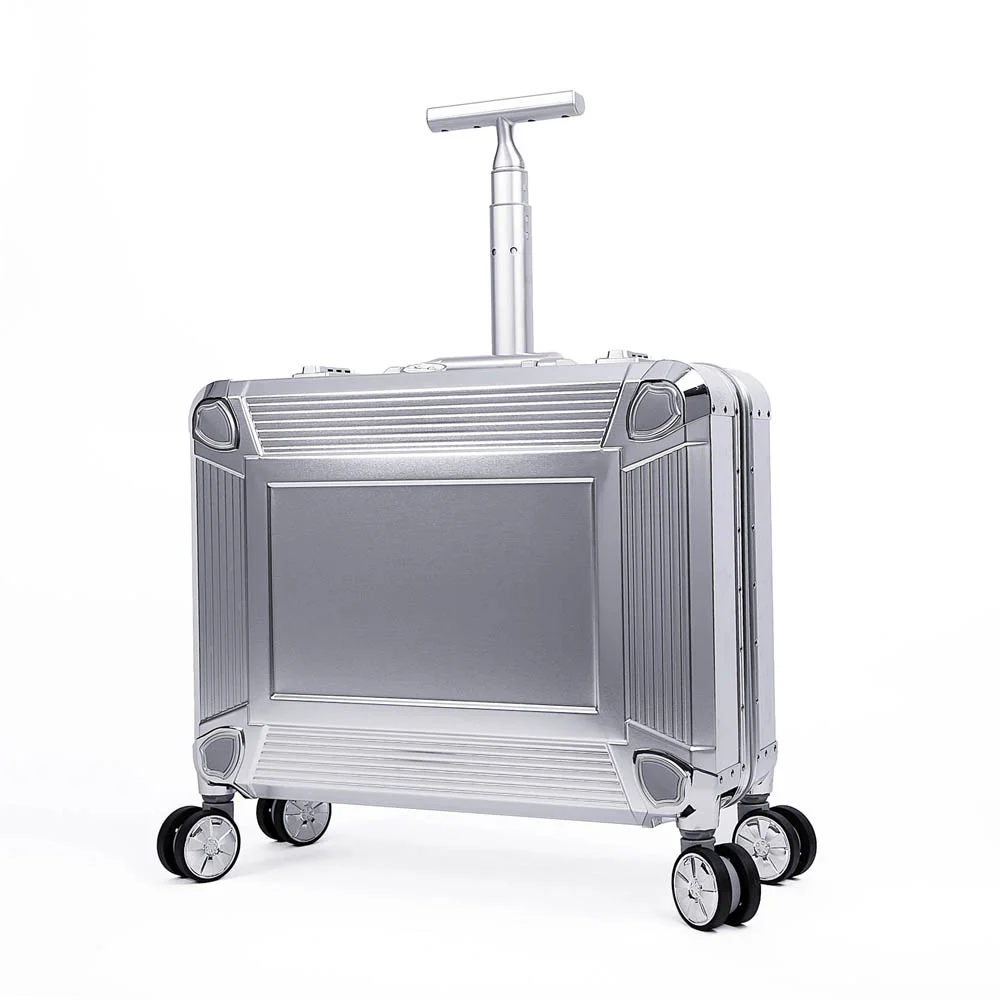
List the materials of the shell, frame, corner guards and other hardware separately. Our YCT-006 business carry-on, for example, has an aluminum-magnesium shell and separate zinc-alloy corner guards. A similar silver appearance does not make them the same material or suitable for the same finishing process.
To retain an existing shell and change a latch or handle, first compare the new fitting with the mounting position. Changing case width, opening position or front-to-back depth calls for a review of the shell, frame and opening arrangement together.
Check latches, hinges and seals on the assembled case
The frame edges must meet, the hinges must move normally and each latch must engage its matching part. When changing a latch, compare mounting holes, engagement position, projection and finger access alongside its appearance and combination dial.
If one area needs the lid pressed down firmly before the latch will close, do not start by choosing a tighter latch. Check shell and frame alignment, hinge mounting and interference from nearby parts first. A latch that closes does not establish that the whole frame is aligned.
For a design with a gasket, also check its groove, the contact made when closed and continuity around corners. Adding a sealing strip does not, by itself, establish that the complete suitcase is waterproof. Assess the opening and joints under the agreed checking conditions. Our metal luggage lock selection guide explains the lock choices in more detail.
A front-pocket zipper is separate from the main closure
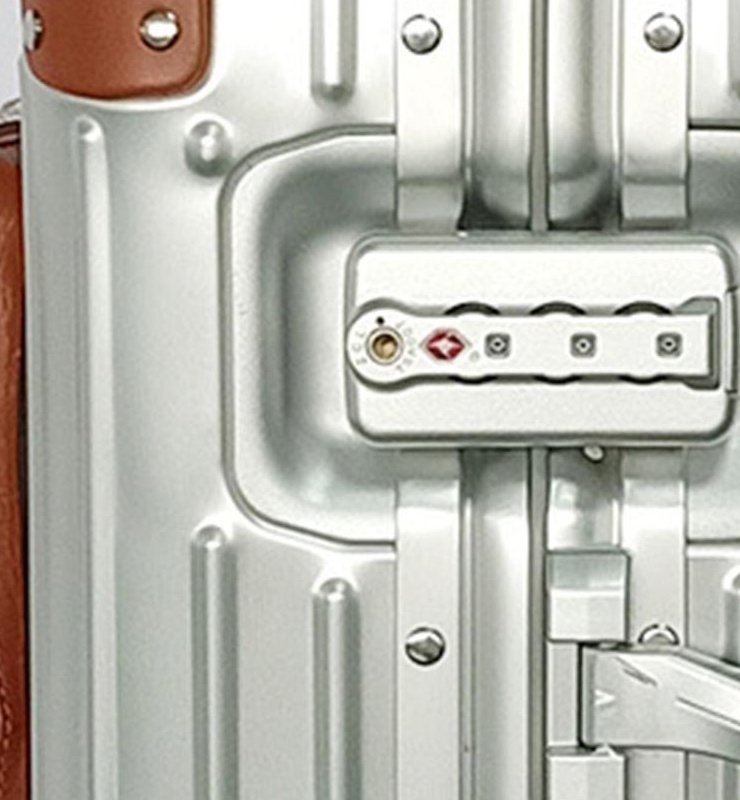
Our TS-003 front-pocket model has a separate zippered leather pocket. The main case closes with a metal frame and TSA combination latches. The pocket provides access without opening the main case, but the main latches do not also lock its zipper.
If the brief calls for a lockable front pocket, specify that closure separately. For laptop storage, provide the device and sleeve width, height and thickness, then check the opening, usable space and route into the pocket. The case’s 20-inch size name does not identify which laptop will fit.
Enlarging the pocket can affect front projection, space near handles and corner guards, and the loaded shape. A front opening that leads directly into the main compartment involves a different opening and interior arrangement; it is more than a larger version of the existing separate pocket.
Why choose wheels and mounts together?
“Change these wheels” can mean replacing the rolling elements or changing the complete caster assemblies, including their forks and mounting bases. Define that scope before quoting the change.
A case with four mounting positions and two wheels at each position may be called an eight-wheel case. It still has four assembly mounting positions. Single and double describe the wheels within each assembly; fixed and spinner describe how the assembly changes direction. Keep those descriptions separate.
Two assemblies with the same wheel diameter can have different mounting bases, hole spacing, installed heights and swivel clearances. A replacement that contacts a corner guard or the case base cannot be fitted directly simply because its wheels turn smoothly on their own.
For larger wheels, one route is to retain the case and compare suitable candidate assemblies. If the specified assembly must stay, assess the changes needed at the case mounting points instead. Compare the components and development work involved in each route.
After fitting the change, recheck overall height, how the case stands and its packaging arrangement. For after-sales spares, record the applicable model, size and mounting position, and establish how the fixing points will be reached. Detachable does not mean tool-free, or that one part fits every front, rear, left and right position. Our luggage wheel selection guide covers materials, rolling assessment and mounting checks.
How should trolley and carry handles work together?
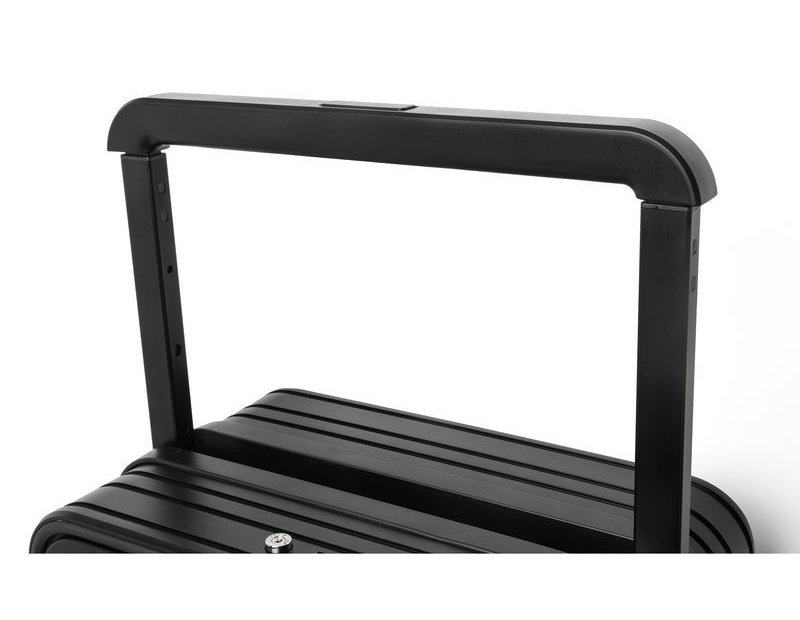
A trolley change involves more than the grip outline. Grip width, tube spacing, retracted length, release mechanism and mounting positions determine how the complete assembly fits the case.
The wide grip on TS-005 spans the back, with a telescopic tube toward each side. YCT-006 uses a central telescopic stem joined to a horizontal grip, creating a T-shaped outline. Start with the appearance your brand wants, then assess mounting and interior layout on the selected case.
Moving tubes toward the sides can change the back layout, but the appearance alone does not establish a larger interior. Check the actual trolley channels, upper and lower mounts, backing and lining against the contents. Include any rigid laptop divider or fitted insert when reviewing usable space and opening.
If a laptop bag will slide over the trolley, test its pass-through sleeve as part of the combination. Check whether the grip passes through, whether the bag shifts once fitted and whether it blocks the button or carry handle. Tube spacing alone does not answer those questions.
Carry handles lift the case; the trolley is used for pulling and rolling. Their mounting and use differ. Coordinate the carry handle’s outline, covering, color and metal end mounts with the trolley, while checking hand clearance, the stowed position and access to latches and the lid.
A thicker carry handle can change both grip feel and the space it occupies when folded. Review mount height, finger clearance, folded position and overall case dimensions together. Our trolley styles and customization guide explores the individual handle choices.
What do lining, dividers and straps each do?
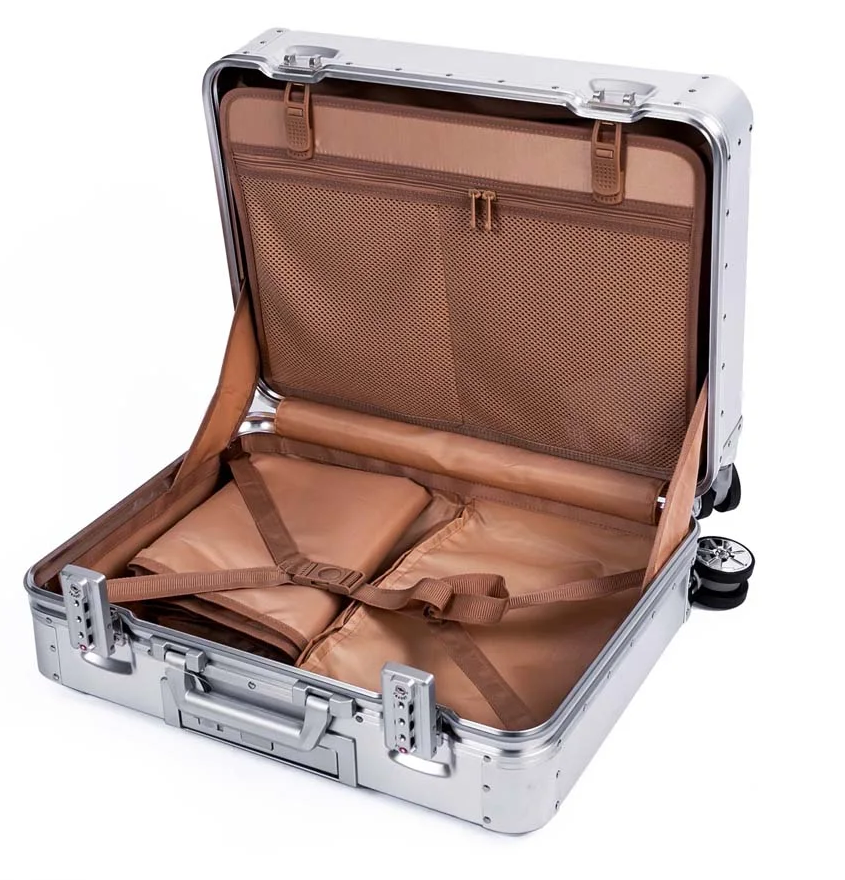
“Change the lining” might mean a different fabric, or a new arrangement of dividers, pockets and straps. Establish whether the change concerns color and feel or the way contents are stored and reached.
Lining covers the inner surfaces. Dividers separate areas, pockets give smaller items a place, and straps help hold clothing or other contents. A fitted insert further controls how an item sits. These components can work together, but adding more is not automatically an improvement. Check whether they obstruct larger items, add unwanted bulk or make access less convenient.
TS-005 opens through its front lid into a deep main compartment, with a mesh pocket in the lid. TS-003 has two packing sections with dividers and straps. Keeping one open area for equipment calls for a different arrangement from separating clothing between two sides.
For equipment, include its protective bag, cables, connectors and supplied accessories as well as the bare item dimensions. A rigid insert, straps and separate pockets occupy space differently. Choose a starting arrangement around access and protection, then compare it with the intended contents inside the sample.
When checking a mesh pocket, fill it and try closing the lid. Check zipper access and whether its contents press into the other section. For straps, assess adjustment range, buckle position and fixing points with the intended load. The lining and interior layout guide covers fabric and storage choices in greater detail.
Which changes affect the case structure?
Judge a change by the parts and mounting positions it affects, rather than how large it looks on the outside. Moving a small button to the side of a grip can involve its internal release mechanism. Changing the color of a large lining panel may mainly concern fabric selection if the pattern and other requirements stay the same.
| Requested change | Compare first | Define the scope |
|---|---|---|
| Lining color or mesh-pocket fabric | Fabric specification, feel and thickness against the existing cut pieces and sewing | Separate a fabric change from changes to pocket patterns or divider positions. |
| A different wheel assembly | Base, hole spacing, installed height and swivel clearance | Distinguish a candidate that fits the existing mount from a change to the case connection. |
| A wide trolley in place of a conventional one | Case back, upper and lower mounts, retracted space and interior | Assess the target case before choosing an existing assembly, developing a fitting or changing the body. |
| A separate front pocket or larger pocket opening | Front space, attachment, opening construction and loaded projection | Separate an added storage pocket from a change to the main-case opening. |
| New shell dimensions or opening type | Shell, frame, hinges, locks, fittings and interior | Assess the complete case and list retained and newly developed parts separately. |
Developing a grip or wheel mount does not necessarily mean replacing all the case tooling. Equally, a small visible change can affect the interior. Around the selected model, we separate retained components, new fittings and mounting changes before defining the drawings, quotation and sample work.
How do references become an approved case configuration?
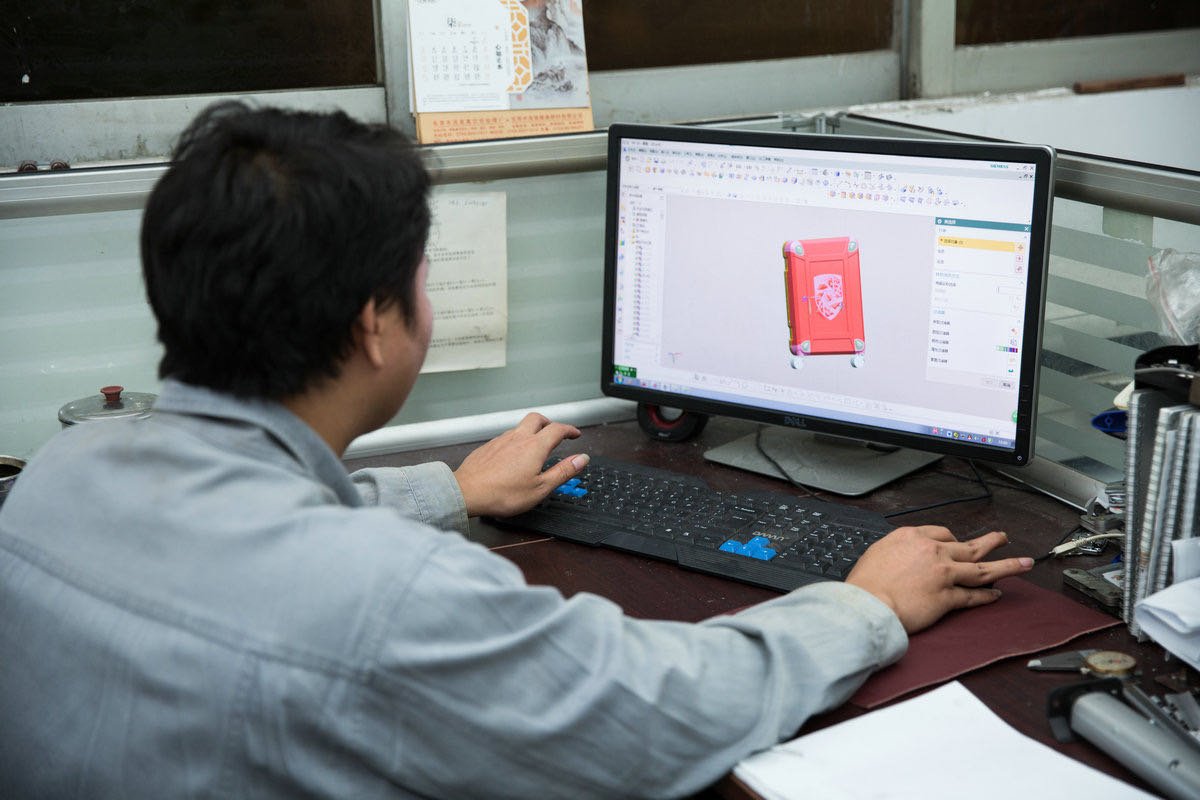
You do not need every fitting selected before starting. Choose a close starting model and mark the features to keep and change. For example: “Retain the TS-005 body and wide trolley, use a rounder carry handle, secure equipment inside, and prioritize installed height when comparing wheels.” That gives the proposal a useful starting point.
Reference images describe appearance; the contents and use requirements describe the job. Translate them into parts, positions and dimensions: how the handle folds, how the lock opens, where wheels turn, how an insert comes out and how large the closed case is. Use the relevant drawings for new work. A front-view rendering cannot replace all the mounting information.
On the sample, first assess the complete appearance, then follow the intended actions: extend the trolley, lift the case, roll and turn it, open the main compartment, take items from the pockets, repack and close it. Identify the part and movement that feels wrong before deciding whether to change a component, position or layout.
If a laptop bag blocks the carry handle, “make the handle bigger” may not resolve the cause. First establish whether the sleeve lets the bag slide down, the bag covers the handle position or the original finger clearance is too small. Then consider the bag attachment, handle position or grip shape, and test the same combination again after the change.
Keep the model, size, shell and frame, wheels, trolley and carry handles, locks, colors, interior and fixing arrangements in one configuration record. Identify the sample and drawing revisions. After changing wheels or projecting parts, recheck overall finished dimensions. For load or endurance requirements, use the agreed project checks so purchasing, production and repeat orders refer to the same configuration.
To develop your collection, start with our existing case designs and customization options. Share the appearance your brand prefers, the contents customers carry and the experience you want to improve. Define how the complete case will work and how its parts fit together, then review the assembled sample before selecting the production configuration.
Tell us about your luggage project
Share your preferred model, quantity and customization requirements.