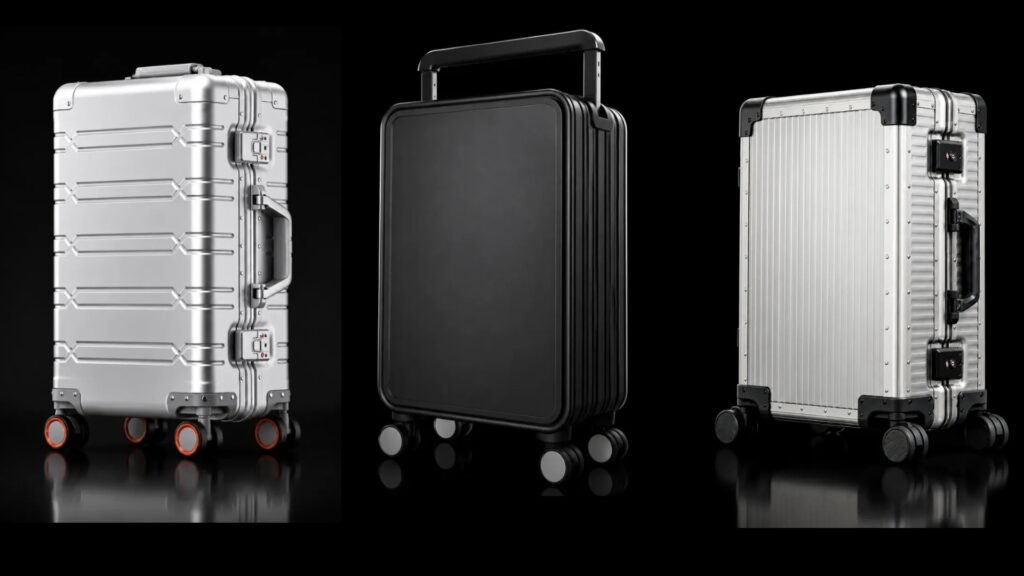
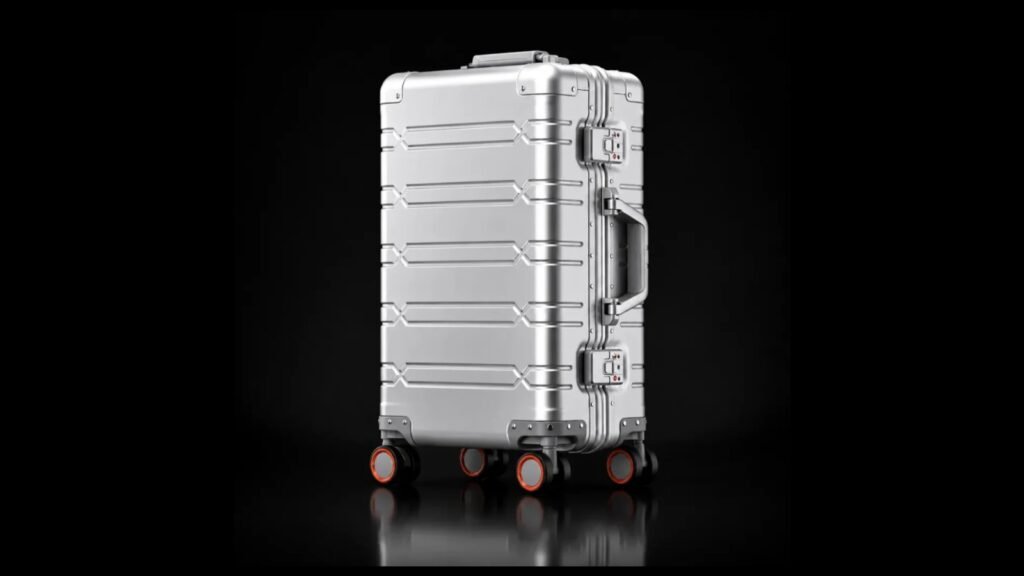
Luggage Handle Types: Choosing a Trolley Design for Your Brand
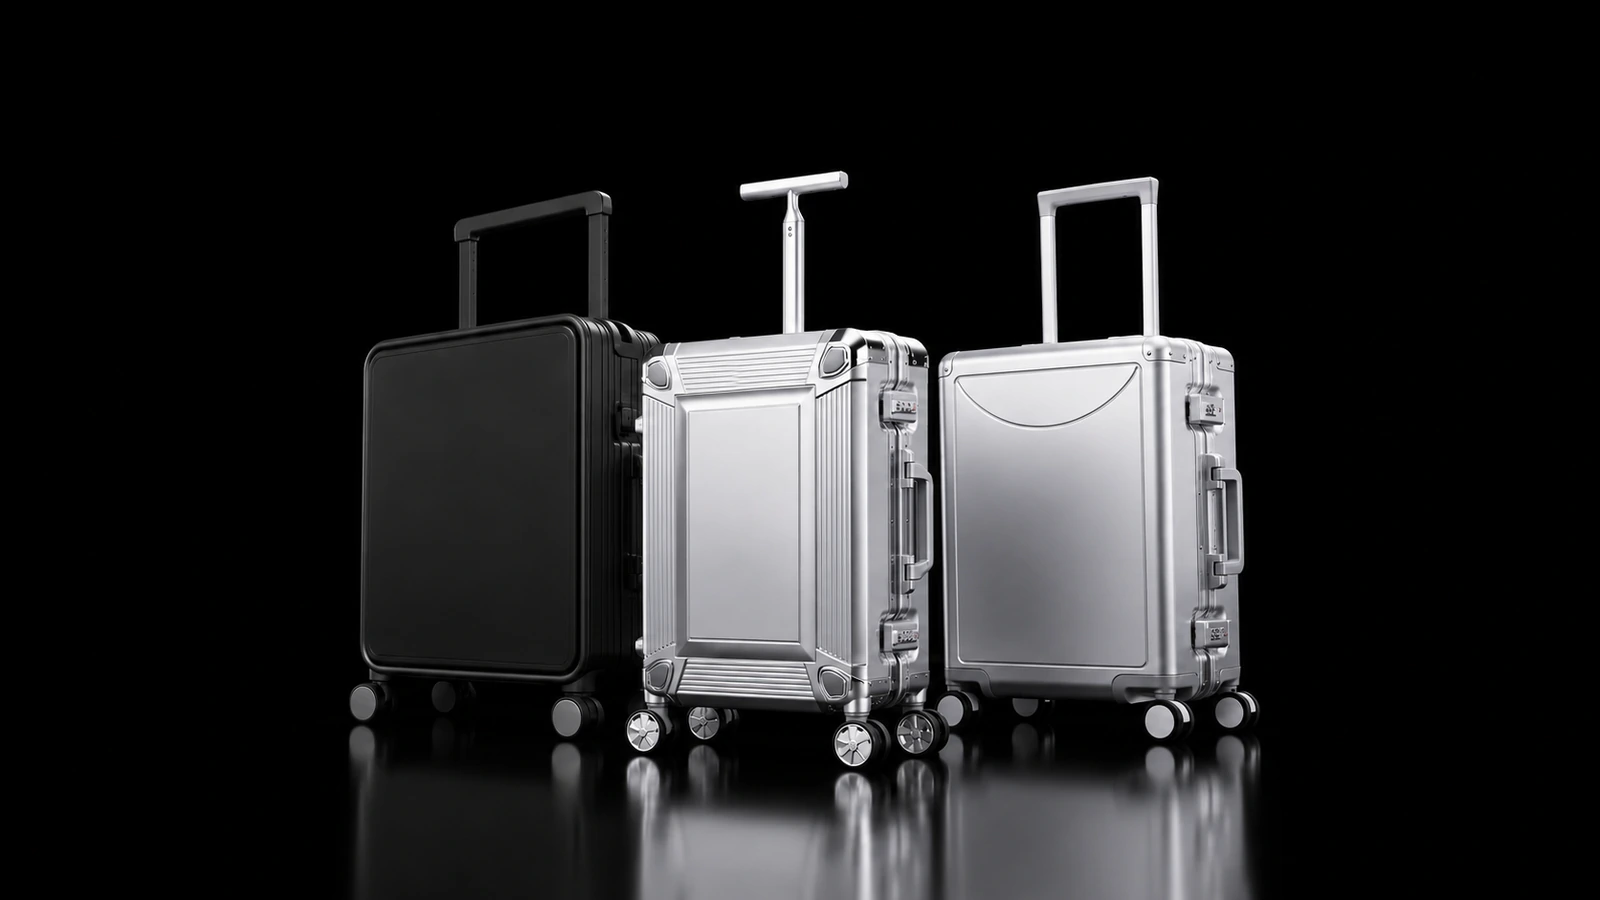
Your luggage collection can use several trolley styles: a single central stem, a wide grip across the back, or a grip with a softer curve. Put that choice on the intended case and coordinate it with the carry handle, wheels, and colors to see the complete product.
This guide focuses on telescopic trolley handles, with carry handles considered as part of the complete case. We start with the styles, then explain how they can guide business cases, branded collections, and ranges of different sizes. Bring references you like; we can discuss the component choices and mounting as part of the complete luggage design.
What Are the Different Luggage Handle Styles?
Start with the pictures. Single-stem, two-tube, and wide handles describe the tubes and their spacing. T-grip and curved grip describe the part you hold. Multisection, internal, and external describe how the assembly extends or mounts. One trolley can fit several of these descriptions.
Single Stem: One Telescopic Stem in the Center
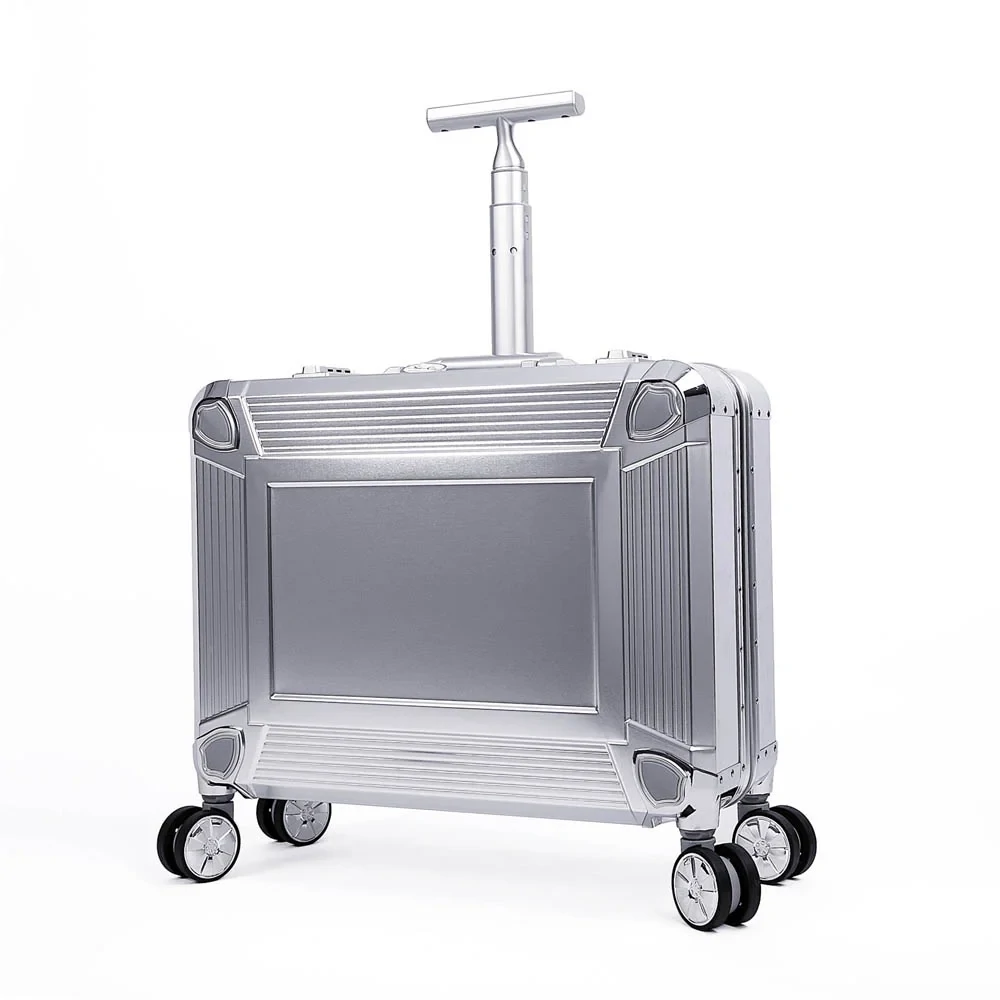
A single-stem trolley has one telescopic stem connecting the center of the grip to the case. YCT-006 has a horizontal grip above a stem whose sections retract into the case back.
If this central-stem appearance fits your collection, use the case as a starting point and coordinate the grip, carry handle, and colors. For a business range, include laptop-bag attachment and access at the top of the case in the proposal.
Two Tubes: One Tube at Each End of the Grip
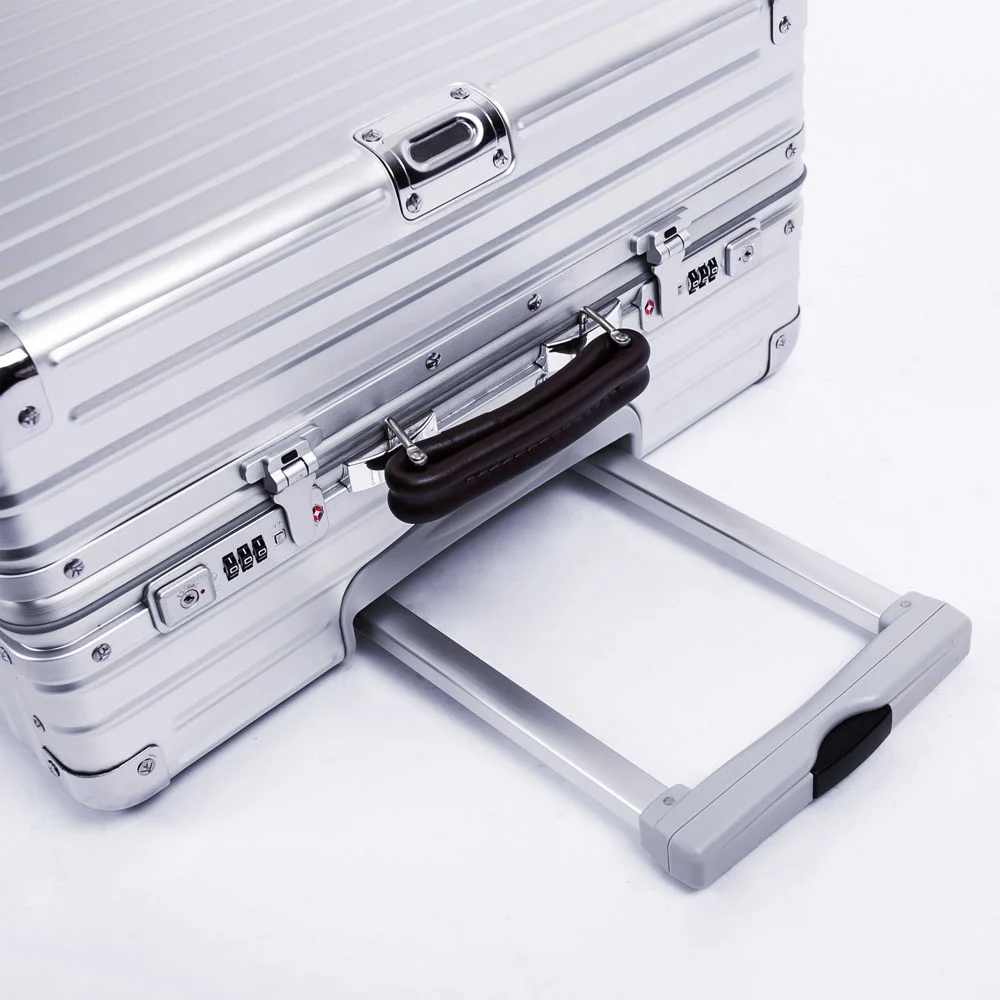
From the front, a two-tube trolley resembles an upside-down U: a grip across the top and a telescopic tube on each side. YCT-056 and TS-009 show this arrangement.
Tube spacing, grip shape, and the retracted position vary. Start with the look you want, then select components against the target case, carry handle, opening, and interior. The spacing and grip together affect the proportions of the complete case.
Wide Handle: A Longer Grip With Tubes Toward the Sides
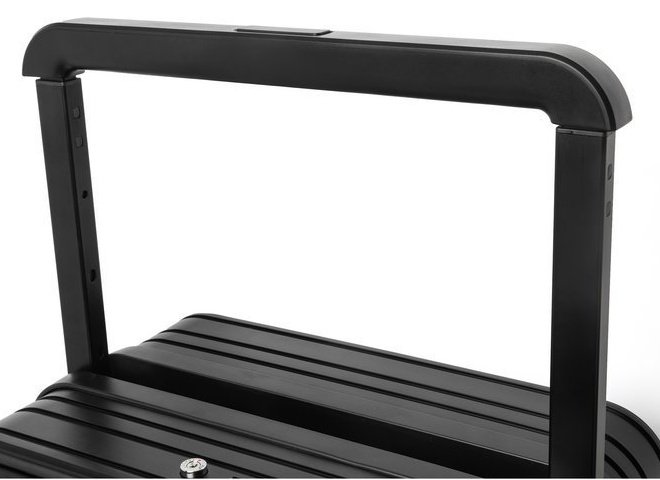
A wide trolley has a longer horizontal grip with the tubes farther apart. On TS-005, the grip spans the back of the case.
Use this appearance as a starting point if the wide trolley is a feature of your collection, then coordinate the shell, carry handle, and wheels. If a backpack will be sold with it, include sleeve fit in the combination proposal and sample review.
T-Grip: A Horizontal Grip Joined at the Center
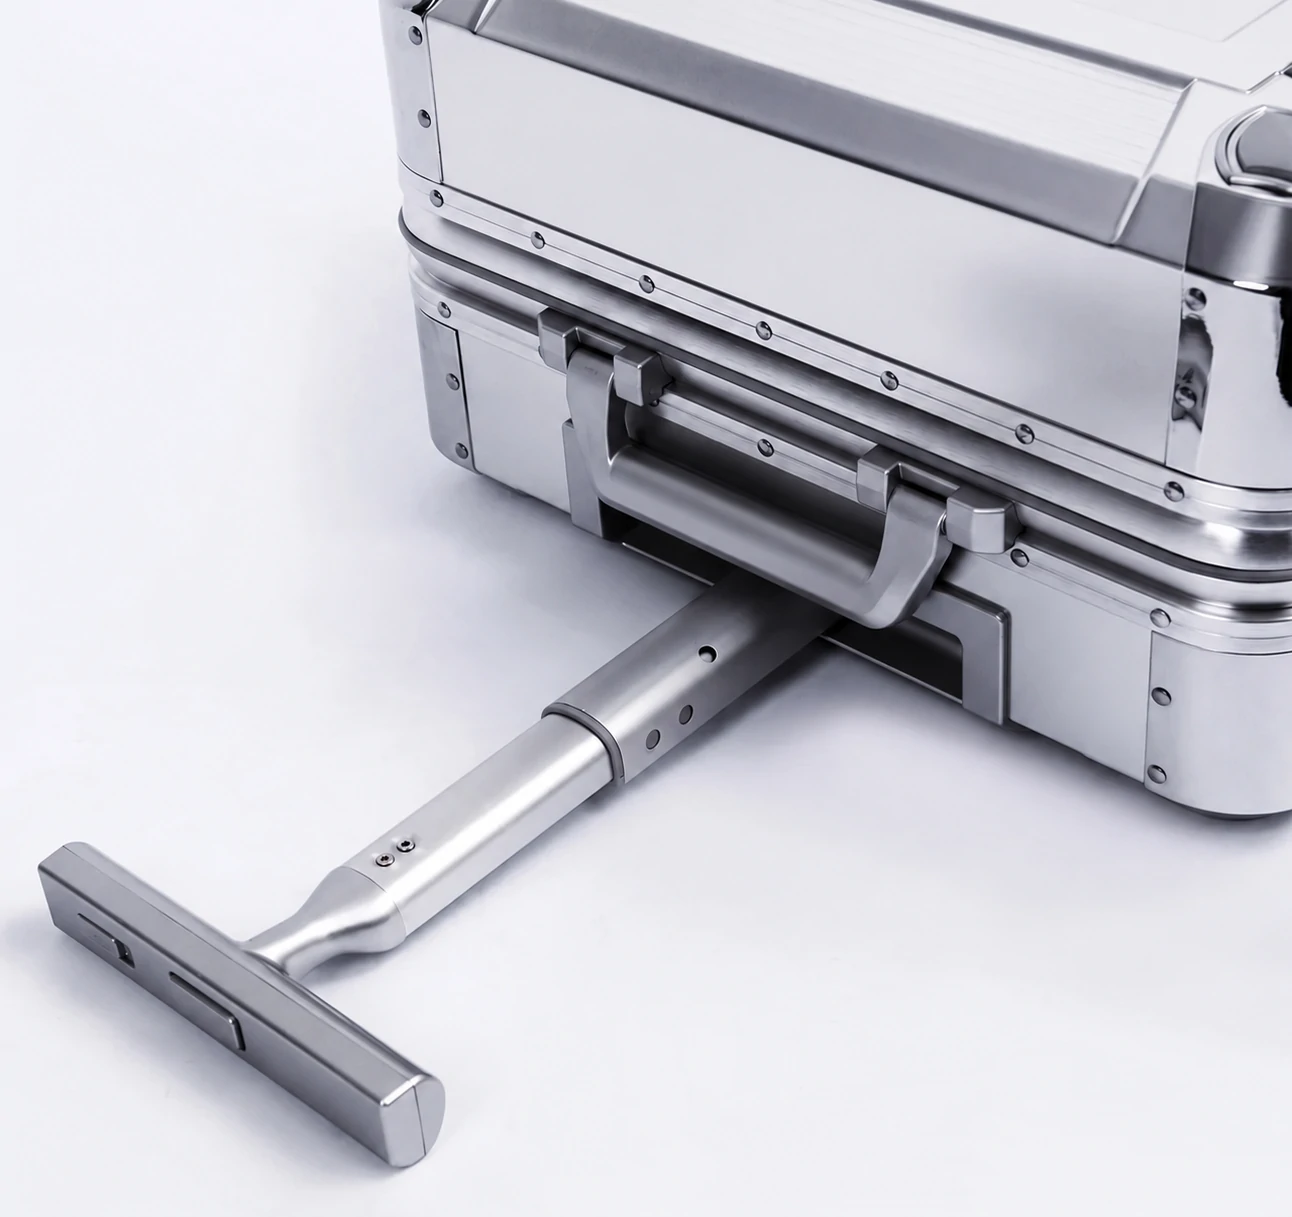
A T-grip joins the horizontal grip to the stem at its center, resembling the letter T. The YCT-007 detail shows that connection.
This model is both single-stem and T-shaped. Start with that outline, then discuss squarer or rounder grip ends, button location, and the carry handle. Review available components to translate the preferred shape into the complete-case proposal.
Curved Grip: An Arc Instead of a Straight Bar
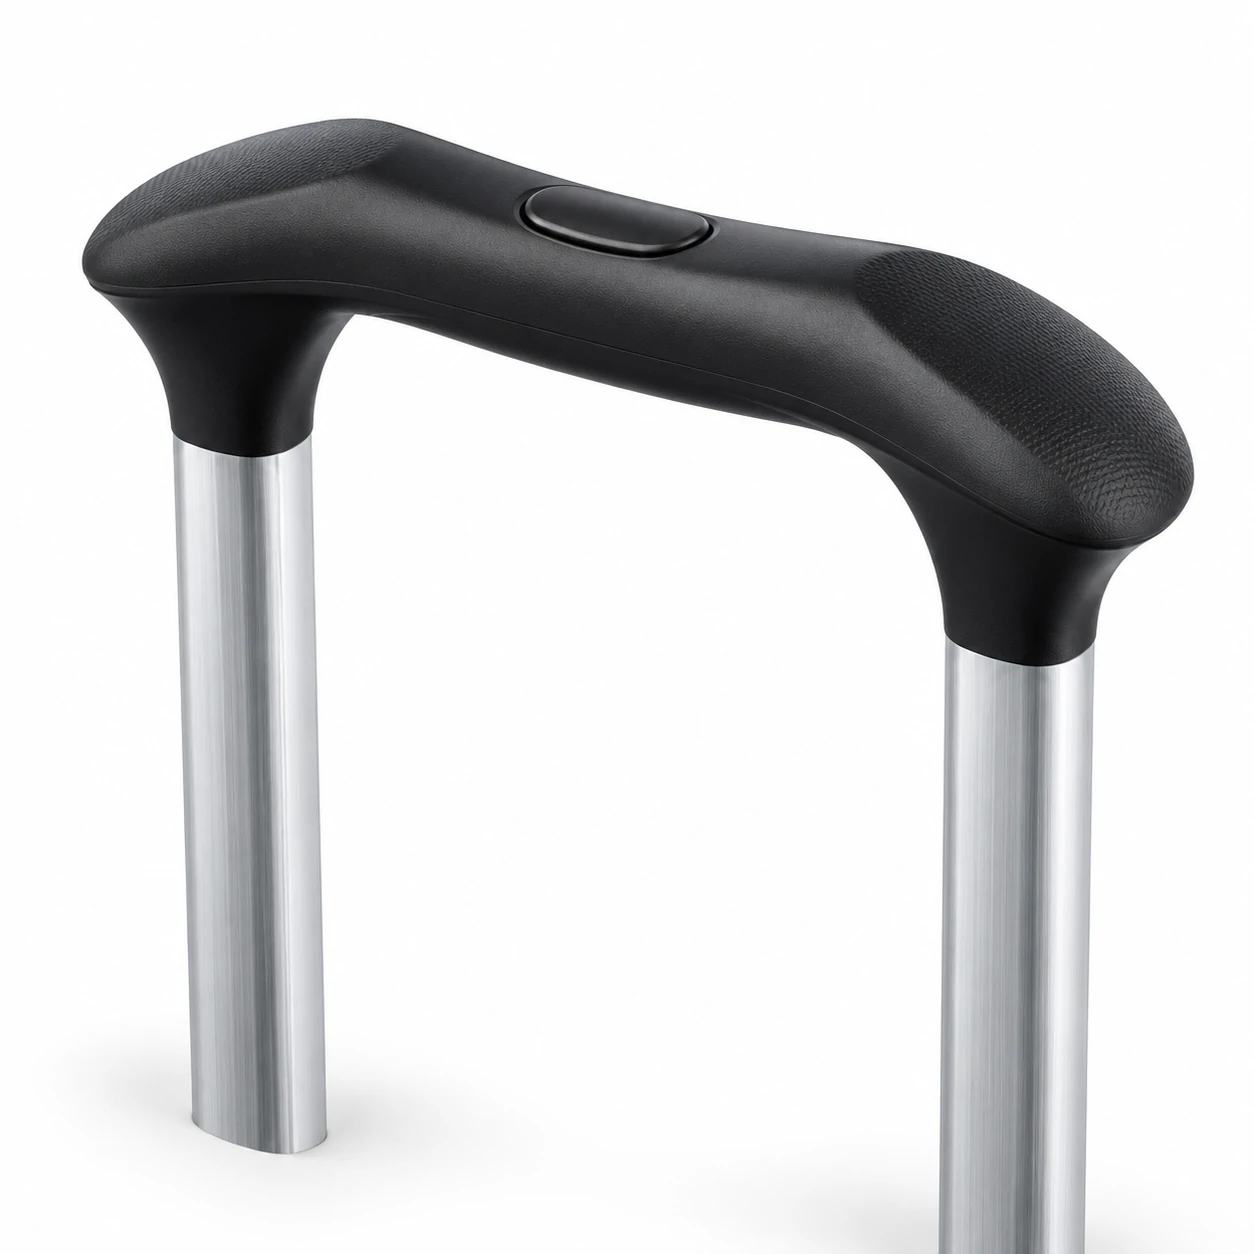
A curved grip has a rounded or flowing hand area. The pictured grip has a shaped upper line, ends turning down toward the tubes, and a central button. A curve can form an arch or follow the hand area; the precise outline varies.
For a rounder appearance, consider a carry handle with related lines. A slight curve can also be paired with a more angular case. Define the contour, thickness, and button position together, then try the grip and operation on the complete sample.
Multisection Handle: Sections That Extend and Nest Together
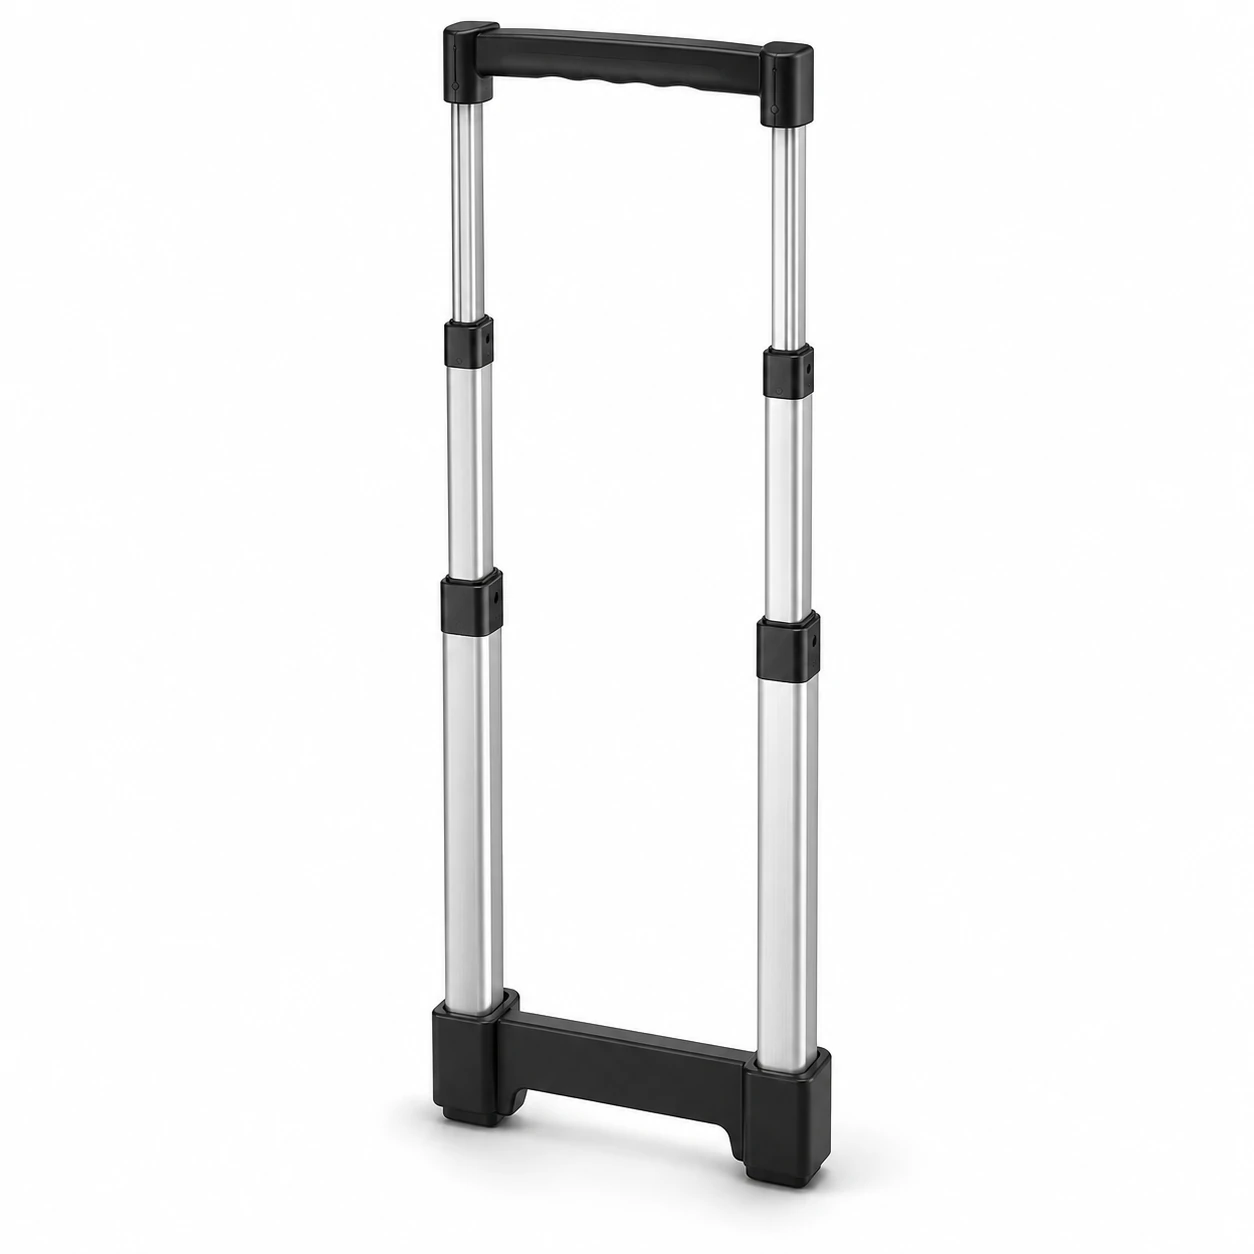
A multisection trolley has differently sized tube sections nested together. The joints show when extended; narrower sections slide into wider ones when retracted. Single-stem and two-tube systems can both use this construction.
For different case sizes, select the arrangement against case height, closed trolley length, and the required working heights. Tube section count and the number of locking positions are separate details to define in the proposal.
Internal Mounting: The Assembly Sits Inside the Case
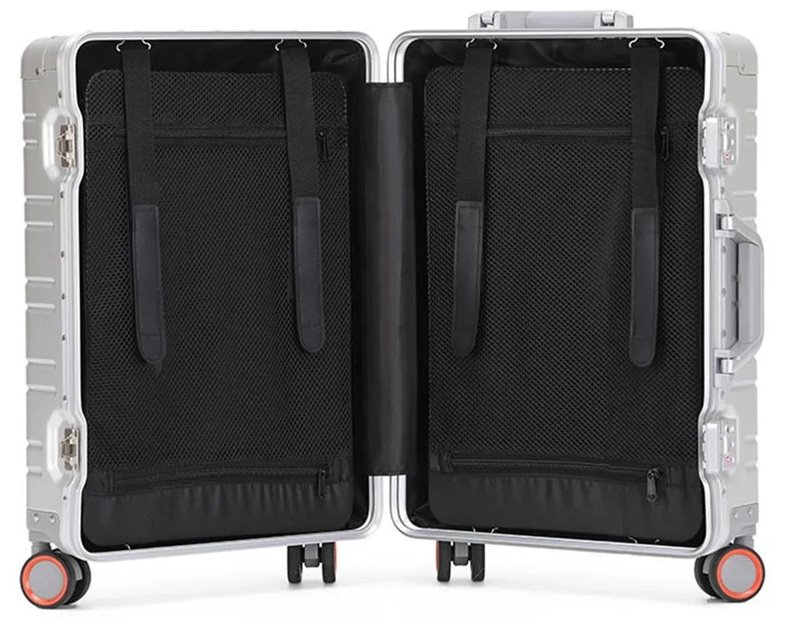
An internally mounted trolley is arranged inside the case back, together with the lining and packing layout. This TS-006 product photo shows the real lining, dividers, and storage area.
For customization, review the selected model’s construction documents and arrange the trolley, lining, and dividers together. Provide dimensions and placement requirements for documents, equipment, or fitted organizers so the space and configuration can be assessed. Internal fixing points and mounting details must follow the actual model construction.
External Mounting: The Assembly Sits Outside the Case Back
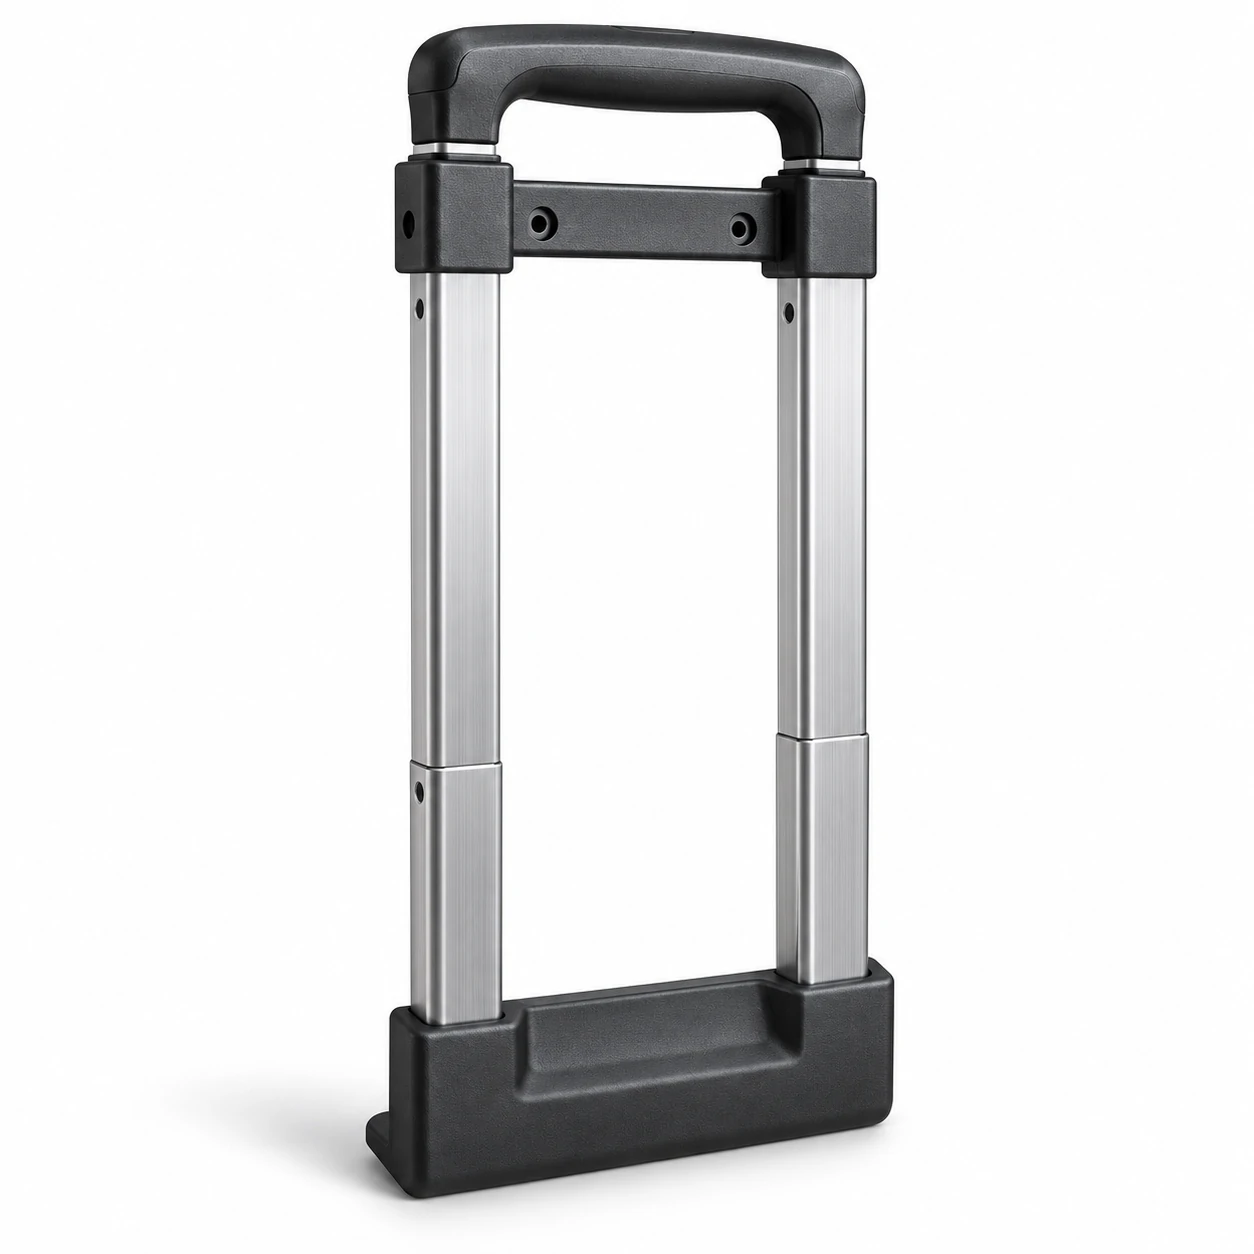
An external system places its mounting structure outside the case back, where the frame or connections are visible. The pictured assembly includes an upper bracket, two tubes, and a lower housing.
Review the back appearance, mounting, and complete dimensions together. How much frame is visible and how it relates to the shell are part of the luggage design. Suitability for an existing model depends on that case and the selected components.
You do not need every term before starting. Point to a reference and say, “I like this grip shape, with two tubes.” We can then discuss combinations against the case and your product direction.
How Can the Trolley, Carry Handle, and Case Fit Your Brand?
Once you like a trolley style, consider how it looks with the shell, carry handle, and wheels. Grip contours, component colors, and proportions can all contribute to the collection’s identity.
For a simple business case, consider a clean grip outline and a carry handle with related lines and colors. A vintage-inspired direction might start with a rounder grip and a curved or covered carry handle, alongside coordinated corners and locks. These are design directions to discuss; materials and parts depend on the selected proposal.
Contrasting parts are another option: a silver shell with a black grip and carry handle, or a component in your brand color. Review the complete appearance first. Similar colors can have different gloss levels, so compare actual components or the assembled sample before approving the combination.
You do not need every component selected at the start. Share brand colors, case references, or a description such as “more angular” or “more rounded.” We can use those preferences to identify a starting case and discuss suitable combinations.
Which Case Designs Can Start Your Collection?
Start with the customer’s use and the appearance your brand wants, then consider the trolley on the appropriate case. These existing models illustrate several starting points.
Business Carry-Ons: Define Access, Storage, and the Bag on Top
For a T-grip, start with YCT-006. For a two-tube layout with a horizontal grip, consider YCT-056. For a top-opening case, discuss TS-009. These are different case designs: choose the relevant starting point before refining the trolley, carry handle, and interior.
If you plan to sell a laptop bag and case together, provide the bag reference, pass-through dimensions, and the computer or documents to fit inside. The proposal can then address grip, button, carry-handle placement, and storage as one product combination.
A Distinctive Collection: Make the Wide Trolley Part of the Design
TS-005 offers a wide-grip reference with tubes toward the case sides. Discuss the complete appearance next: shell lines and color, carry-handle shape, wheels, hardware, and any backpack sold alongside it.
If you like the wide trolley, distinguish the appearance you want from fitting the same complete assembly to another case. An appearance direction helps guide the design; changing the assembly also requires mounting and interior review. Width shows a visible styling difference, but does not establish capacity or durability.
Several Sizes or Models: Decide What Should Look Consistent
For a range of sizes, a model such as TS-006 provides a starting point. Put the grip contour, trolley color, carry handles, and wheels you want to coordinate into the collection proposal.
Review working height, retracted position, and mounting separately for each size. The collection can have a consistent look while using parts appropriate to its cases. If a removable-wheel carry-on is part of the range, YCT-007 provides another existing configuration to discuss.
How Do We Define Grip Size, Buttons, and Mounting?
Start with your appearance and use requirements. We can then discuss how to translate them into dimensions and a mounting proposal. Send technical drawings if available; photos, reference samples, or an initial idea can also start a discussion around a suitable case.
Grip Size: Specify What “Wider” or “Thicker” Means
A wider grip could mean a wider overall outline, more usable hand space, or tubes farther apart. Identify the intended change, then review overall width, usable length, thickness, tube spacing, and proportions on the case.
A side view or marked dimensions can explain thickness, rounded edges, and finger clearance that a front photo misses. Include the backpack sleeve if it needs to fit over the grip. The dimensions then relate to both the appearance and the intended combination.
Button Position: Consider the Look and the Operation Together
Discuss whether you prefer top, side, or underside operation, then review available components for the button location, outline, and color. Consider the usual grip, operating hand, and whether a bag will sit on top.
The button also operates an internal release mechanism. Moving it from the top to the side can involve more than the grip cover. Review the chosen assembly to distinguish an existing option from a new grip or complete trolley change.
Mounting: Review the Target Case First
The upper housing, lower mount, hole positions, and closed length define how the trolley fits the case. Review the carry handle, opening, locks, wheel housings, and interior together. Identify what can remain and what needs changing before the sample is made.
| What you want to change | What we define in the proposal | Useful information from you |
|---|---|---|
| A wider, thicker, or differently shaped grip | Overall width, usable length, thickness, tube spacing, and case proportions | Reference images and any existing dimensional requirements |
| Button position or appearance | The button, grip, and release mechanism combination and scope of change | Preferred operation, colors, and areas to keep clear |
| A trolley on an existing case | Mounting, holes, retracted space, and adjacent components | Target model, case drawings, or reference sample |
| Different working heights | Floor-to-grip heights at each setting and the retracted arrangement | Intended users, height requirements, or an experience to improve |
| A coordinated bag and interior | Bag attachment, interior layout, and operating space | Bag and contents dimensions, photos, or samples |
Confirm the Settings and Heights on the Complete Case
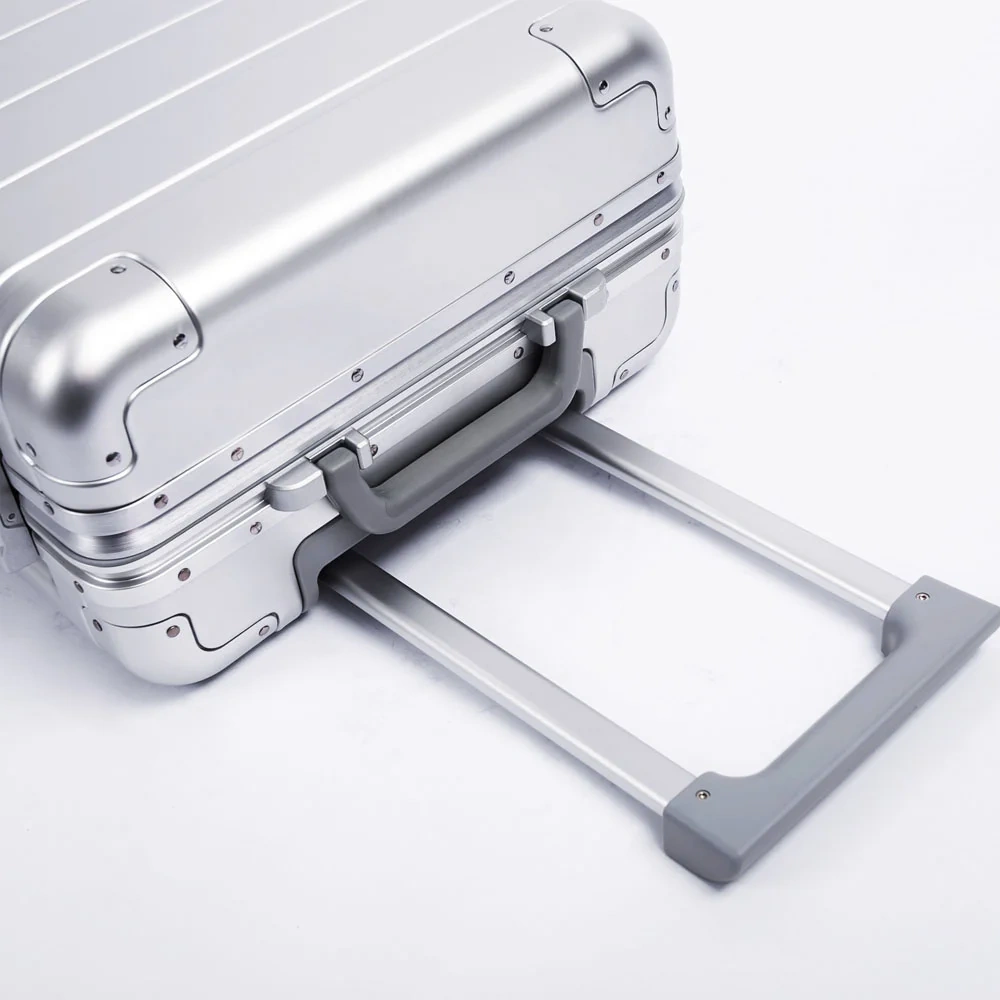
YCT-090 lists four positions in its standard configuration. Define the actual heights too: with the case standing normally, measure from the floor to the same point on the grip for a useful comparison across models.
If the lowest position needs to be lower, or the product serves a particular height range, include that requirement in the proposal. Review case height, closed length, and available assemblies, then try the complete sample. Record the measurements with the final configuration so later samples and production have a clear reference.
How Do We Move From References to a Complete Luggage Sample?
Share images you like, the case type, sizes, and brand colors. Include target customers, estimated quantity, target purchase price, and launch timing where known. These details help define a development starting point; open decisions can be worked through during the proposal discussion.
Start With an Existing Case or Develop a New Shell
With an existing model, retain a suitable shell and discuss the trolley, carry handle, wheels, colors, lining, and branding. Hardware changes need review against that model’s mounting and interior.
A new size, profile, or structure that the existing case cannot accommodate also requires shell design and tooling review. Similar reference images can involve different development work. Separate retained and newly developed parts before discussing quotation and sampling.
Turn the References Into a Specific Proposal
You may prefer the wide trolley on one reference and the carry handle on another, with your own brand colors. Review those choices on the target case for lines, color, and proportions, then define how the button, mounting, interior, and opening fit together.
Use dimensions and the appropriate design documents to explain new sizes or structures. The need for 2D drawings, 3D models, and tooling changes depends on the project. The proposal defines the appearance, functions, and specific changes. Once you approve the direction, the drawings, components, and mounting requirements provide the reference for sampling.
Review the Components and Interior on the Assembled Sample
The proposal needs to become a complete suitcase. Alongside the trolley, the sample should show the carry handle, shell, wheels, locks, colors, and interior as a coordinated product.
Review appearance, button operation, heights, case opening, and storage together. Include the intended laptop bag or specified contents. For strength or durability requirements, define the verification method, conditions, and complete-case configuration during the sample stage.
Resolve the Changes, Then Confirm the Bulk Configuration
Feedback such as “darker color,” “the bag blocks the carry handle,” or “the lowest setting is still high” needs to become a color reference, component position, or dimensional change. Update affected parts of the complete proposal and review the revised sample.
The agreed product includes model and size, trolley and carry handle, wheels, colors, interior, and project packaging. Discuss bulk production against the confirmed specification and complete luggage sample, keeping a clear reference for checks and repeat orders.
Start with the trolley appearance you like and tell us about the case you want to make. We can discuss suitable combinations and development around the existing models and your requirements. Explore custom metal luggage and share your project. If wheels are still undecided, see our luggage wheel options guide.
Tell us about your luggage project
Share your preferred model, quantity and customization requirements.