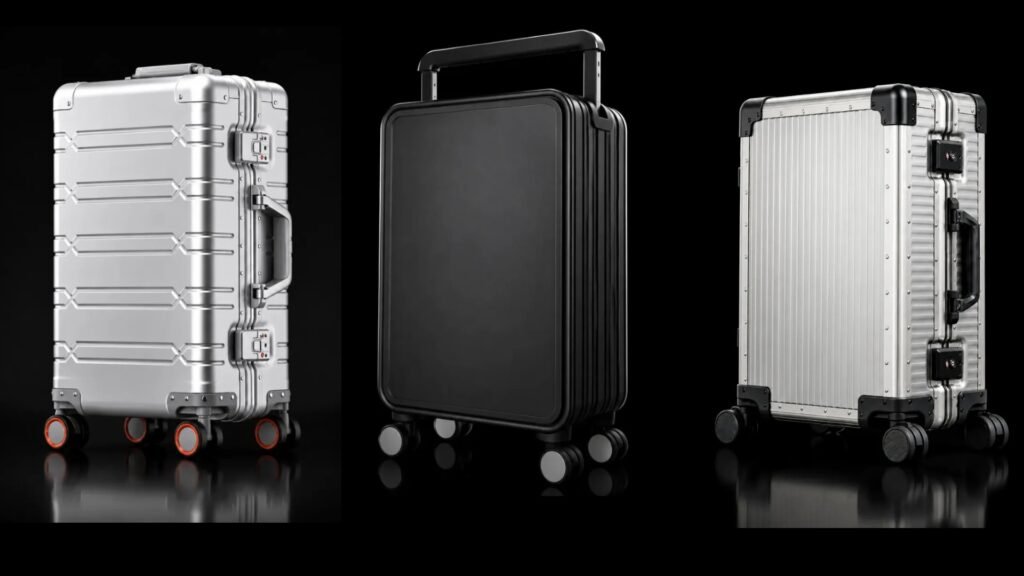
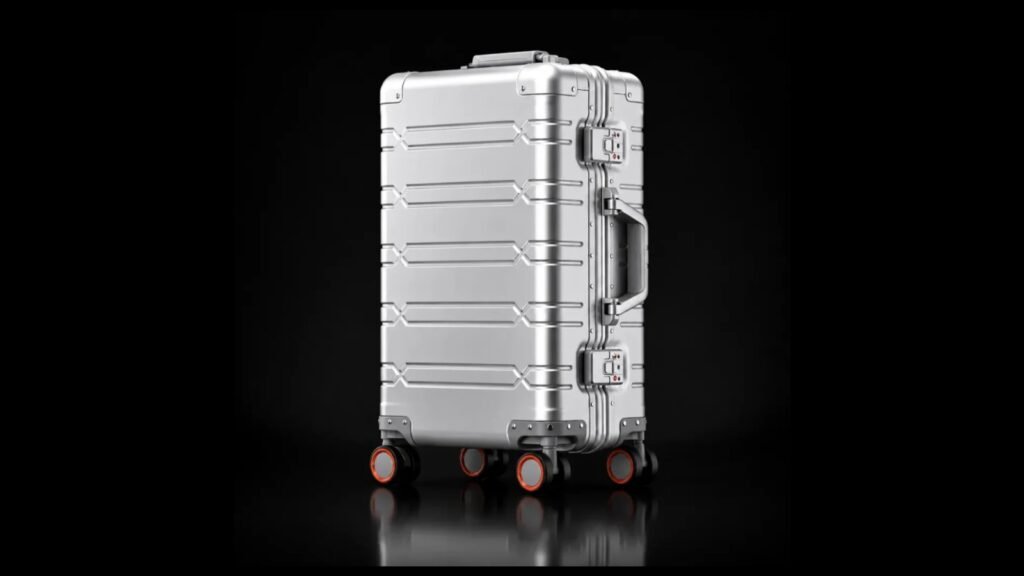
How Do TSA Locks Work? Lock Selection for Metal Luggage Brands
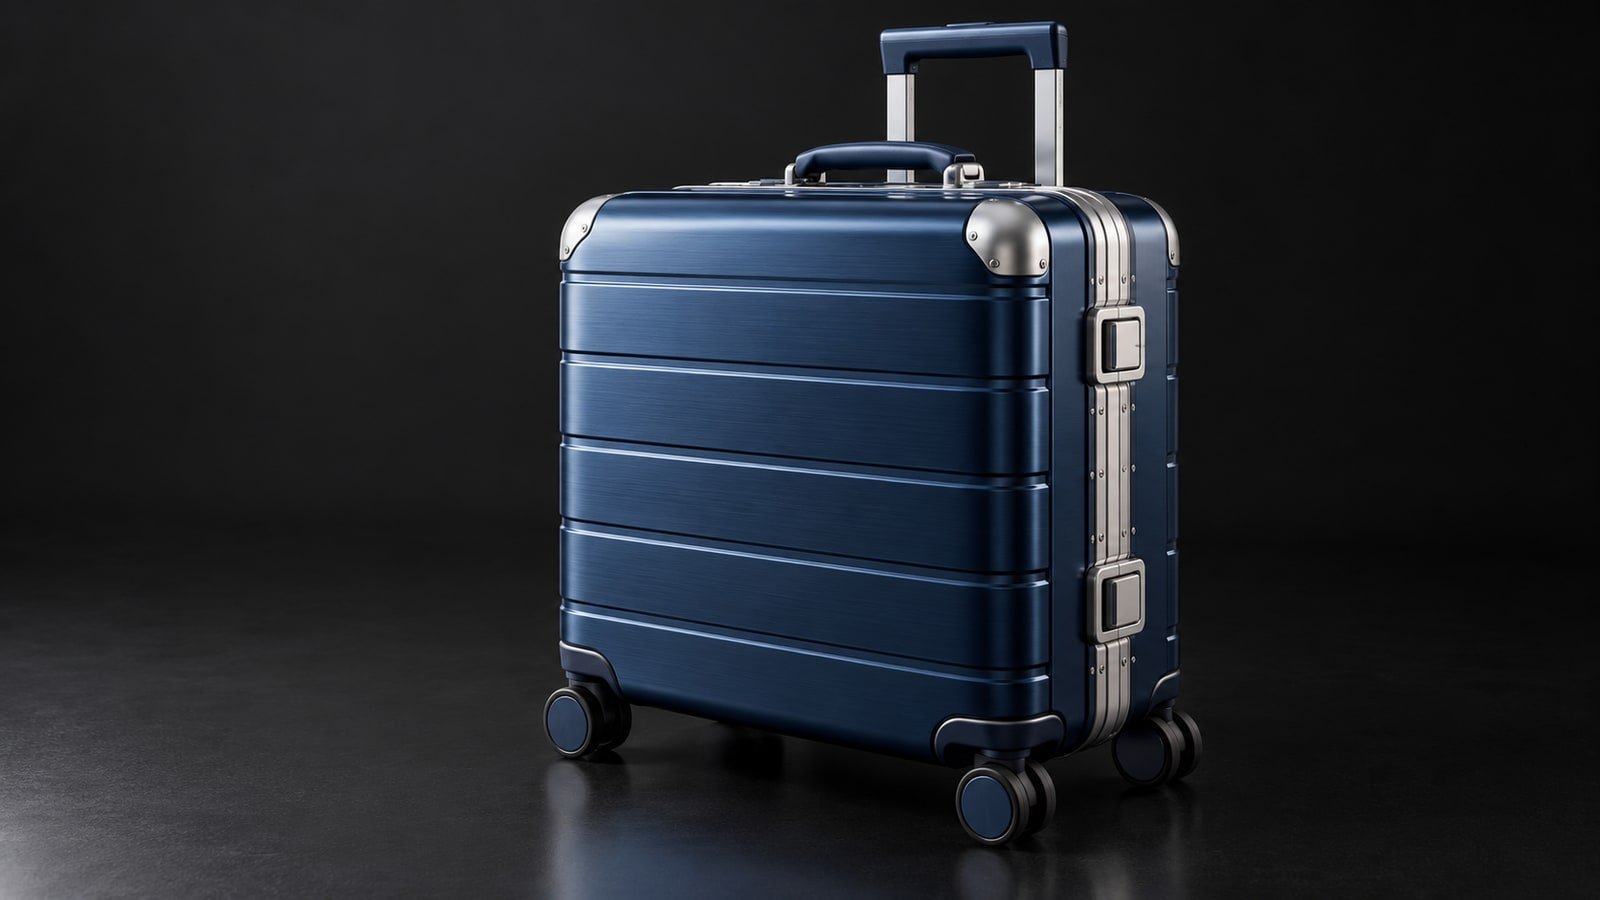
TSA locks let owners open their luggage with a personal combination or a supplied key, while providing a separate access method for authorized security officers using the corresponding inspection system. For a luggage brand, selecting a lock also means checking how it fits, closes and operates on the chosen case—and how it matches your finish, instructions and future supply requirements.
We select locks according to each project’s requirements. Start with the case you want to develop, tell us which closure arrangement you want to retain, and identify any changes to the color, operation or shape. If your sales channel has specific TSA functionality or marking requirements, raise them during selection so they can be included in the product configuration.
1. How Do TSA Locks Work, and How Are They Different from Ordinary Locks?
On a combination TSA lock, the owner uses a personal code to operate the release. When an inspection is necessary, authorized security officers can use the matching inspection tool to open and relock it. This access does not require the owner to provide the combination in person.
In the Travel Sentry system, the red diamond identifies the system, and the TSA code on the lock corresponds to the inspection tool. That code is different from the supplier’s product model or a quality grade. For sourcing and installation, use the specific lock model and its mounting information.
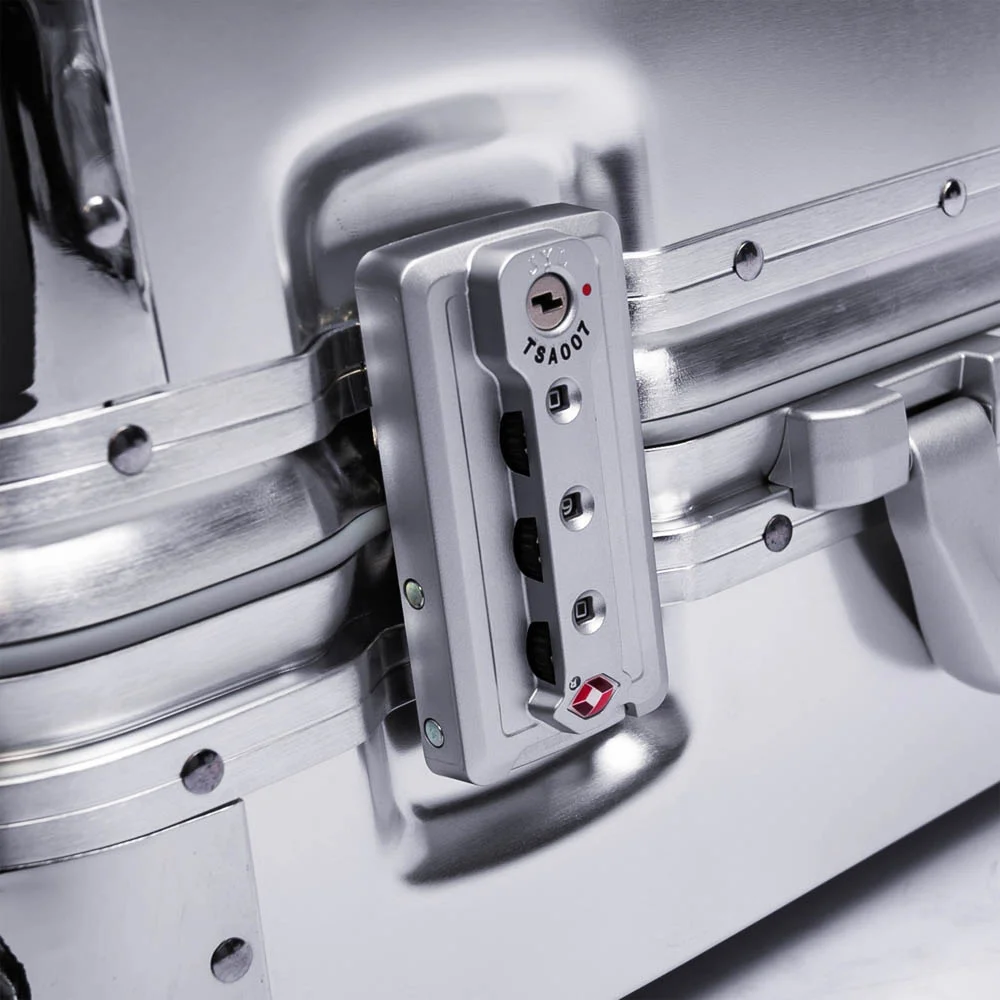
An ordinary lock does not provide this corresponding inspection access. The distinction is compatibility with the inspection system, rather than whether the lock uses a combination. Specify access functions, case assembly and durability requirements separately: a TSA marking does not replace finished-case performance checks or guarantee protection against theft or inspection damage.
2. Frame Latches, Zipper Locks and Padlocks: What Does Each One Secure?
We start with the case’s closure arrangement, then compare operation and appearance. A frame latch engages the case frame; a zipper lock retains compatible zipper pulls. Their installation requirements are different.
| Closure type | What the lock secures | What to compare |
|---|---|---|
| Frame latch | The closure between the two halves of the case frame | The lock body, matching catch, frame profile and fixing positions |
| Integrated zipper lock | Compatible zipper pulls | Pull insertion and release, plus lock-body mounting on the shell |
| External padlock or cable lock | Suitable locking holes or attachment points already on the bag | Compatibility with those points; it cannot directly replace a latch that closes a frame |
Combination and key operation describe how the owner uses the lock. Recessed and projecting designs describe its mounting form. These are separate selection criteria that can apply to different closure arrangements.
For example, on our TS-003 front-pocket aluminum carry-on, TSA latches close the main case, while the leather front pocket has a separate zipper. Specify those closures separately, and make clear which part of the product the TSA lock secures.
How should you compare specific lock models from a requested brand?
YiF, SINOX and Franzen are possible reference brands when discussing a nominated supplier. YiF and SINOX list different frame-latch and zipper-lock options; Franzen also supplies luggage locks and related hardware to manufacturers. We do not use one fixed lock brand: sourcing and compatibility are discussed for the particular project.
Once you have a candidate brand, compare its specific models under the same conditions:
| Comparison | Details to review | How to decide |
|---|---|---|
| Operation | Dial positions, release action and finger clearance after installation | Try the candidate on the complete case and select the operation that suits the product |
| Component materials | The materials of the housing, latch and other individual parts | Check the specific model documentation and describe the relevant parts accurately |
| Mounting form | Body outline, fixing points, catch and space behind the lock | Compare with the selected frame and identify retained and changed installation areas |
| Finish | Color, texture and gloss alongside the handle, corners and frame | Compare physical references for the appearance of the complete hardware set |
For example, SINOX’s QL0267 documentation lists an ABS housing and a zinc-alloy hasp separately. This is more informative than describing a lock only as “metal-colored.” A metal case shell does not mean every lock component is metal. QL0267 is an example of component-level material labeling here, rather than a claim that it is our standard lock or has been validated for our cases.
3. What Should You Check on the Frame Before Changing a Lock?
In developing our aluminum luggage, frame, hinge and latch positions need to be reviewed together. Compare the candidate lock with the selected case structure first, so the sample can address the actual changes.
Identify where the body mounts and where it engages
The lock body fixes to one side; its matching catch engages on the other. Both must correspond to the two frame halves. Compare the body outline, mounting holes or openings, catch position and fixing arrangement. Front-face width alone can miss differences at the catch or behind the lock.
Review outside operation and inside clearance separately
Outside, check the space needed for the dials, buttons and opening latch, including its distance from handles, case corners and other hardware. Inside, check the space occupied by the lock body and fixing hardware against the lining, dividers and nearby components. Confirm the actual fixing method and dimensions from the lock and case information.
Turn mounting differences into a clear sample scope
List what can remain on the existing case and what the candidate lock would change. If only the component changes, concentrate the sample review on its installation and operation. If the frame mounting arrangement also changes, include the revised frame opening and engagement in the sample. This makes the work clear before sampling, instead of adding changes one by one after the sample is finished.
4. How Do Finish Changes, Replacement Locks and Structural Changes Differ?
Place your request in one of the following three groups. Each needs a different decision, which also affects the component, sample, machining and tooling scope discussed in the quote.

Finish only: check the appearance options for the existing lock
Take a silver frame with black latches as an example. Retain the case and mounting positions, check the existing lock’s available colors, finishes and sourcing conditions, then review the lock alongside the handle, corners and frame. A separate photograph of a black lock does not establish how the complete hardware set will look.
Select the specific lock and physical finish reference at this stage. If an existing option meets the design requirement, sampling can proceed around that configuration. Describe the shell and lock materials and finishes separately; the shell’s anodizing specification cannot automatically be applied to the lock body.
Another existing lock: establish how much of the mounting can stay
Provide the candidate model, drawing or sample requirement, then compare the mounting differences described above. If the installation arrangement can remain, development can focus on the replacement component and a complete-case sample. Where it differs, identify the affected areas before confirming machining and sampling. Keep the existing component’s price separate from installation changes.
A new shape, position or action: identify the affected structure
If you want a narrower body, a different position or another release action, place the proposed outline and operation back into the case design. Review the openings, fixings, catch and neighboring components before deciding what new components, machining or tooling are needed. The review should identify what stays, what changes and what the sample must demonstrate.
When discussing custom metal luggage, distinguish the functions that must change from the appearance that can remain. Compare component and complete-case quotes after the development scope is clear, so different levels of modification are not treated as the same offer.
5. How Should Markings, Packaging and Instructions Match the Selected Lock?
After selection, align the actual product with its identification marks and related descriptions. Within the Travel Sentry system, lock manufacturers, luggage manufacturers and distributors have different licensing and marking requirements. Check case, tag and packaging wording against the selected product and the project’s role. Arrange your brand logo separately from the necessary system identification.
Prepare the instruction card for the final lock. Its illustrations must match the dials, release and combination-setting controls on the product. Locks with a reset button, lever or another setting mechanism may use different steps. Confirm the controls, setting sequence and accompanying information before preparing the languages required for your market.
Before printing, we recommend asking someone who did not select the lock to use the final sample with the card: locate the controls, set a combination and verify the new code. If a step needs repeated verbal explanation, improve the corresponding image or wording. This checks whether the instructions work with the product, as well as whether the artwork looks finished.
6. How Should You Check the Installed Lock on a Sample?
The sample turns mounting requirements into observable operation. Start with an empty case, then load it for the agreed use. Keep operating and loading conditions consistent so any issue can be rechecked after adjustment.

- Frame closure and engagement. Observe the frame halves and perimeter closure line while operating the latch. Check whether the frame closes normally and the latch engages and releases. If you need to push the lid sideways or force it shut, include the frame, hinges and corresponding latch areas in the review.
- Access to the controls. Turn the dials and operate the release in their installed positions. Check finger access and interference from nearby hardware. If the appearance works but the controls are difficult to reach, revise the candidate arrangement before approving the final appearance.
- Combination and locking state. Set the combination according to that lock’s instructions. Verify opening with the correct code and the specified locking behavior after scrambling the dials. Return setting controls to their required positions. Check each independently operated lock separately.
- Function under load and after agreed tests. Check closure and opening with the agreed contents and loading conditions. If operation is normal empty but difficult when packed, first check overpacking or lining and dividers caught at the closure, then identify what needs adjustment. If the project includes repeated opening, loaded checks or drop testing, review locking, release and mounting afterward under the agreed conditions.
Record the action, load and location when an issue appears, then repeat those conditions after adjustment. Agree on test cycles, loads and acceptance criteria for the project; a single demonstration does not establish durability.
After approval, keep the lock model or version, finish reference, mounting position and instruction card aligned with the complete-case sample. We use meetings to communicate final customization requirements to production and quality control and distribute them to the relevant stages. Include lock changes in that handover, then complete metal luggage sample approval together with the logo, lining, wheels and packaging.
7. How Should Batch Inspection Follow the Approved Lock Configuration?
Sample approval establishes the configuration; pre-shipment inspection checks the batch against it. We inspect samples from every batch according to the customer’s project requirements, with remote inspection available if you cannot visit. Specify coverage of different cases or lock configurations in the batch inspection requirements.
| Reference | Checks to agree | Information to distinguish |
|---|---|---|
| Selected lock and finish reference | Whether the installed model, finish and position correspond | Case model, configuration and sampled products |
| Agreed operation and assembly requirements | Opening, case closure, locking and release on the complete case | Inspection conditions, abnormal action and affected area |
| Instructions and packaging for the lock | Whether the card, markings and included items match the installed lock | Instruction version and applicable configuration |
A remote inspection can identify the sampled case and lock first, then show close-ups and the complete operating sequence. Subtle finish differences and test results that are not demonstrated still need the appropriate physical reference or inspection information.
If a closure issue is found, use the order’s agreed requirements to record it, determine which products need attention and establish rechecks and confirmation after corrective work. Discuss sampling, records and shipment conditions alongside your metal luggage pre-shipment inspection.
8. How Do You Match Spare Locks and Repeat Orders to the Original Case?
For wholesale metal luggage orders, discuss spare locks when placing the order: the exact model or version, corresponding case, orientation, finish and quantity, plus any fixing hardware needed. This gives after-sales teams a specific product reference rather than only the description “TSA lock.”
Review replacement access on the actual case as well. If lining or dividers cover the mounting area, check on the sample what removal and refitting would involve. Agree on the spares, who will install them and any accompanying items according to the product and project.
Before changing locks on a repeat order, check whether old and new parts are interchangeable. Distinguish service for existing products from the new order configuration. If installation differs, keep the batch, case and lock versions identifiable and check whether the instruction card needs updating. Discuss spare quantities and future supply conditions as part of the change.
9. TSA Lock Questions from Luggage Brands
A combination lock has a keyhole but no owner key. Is something missing?
Not necessarily. On a combination lock with an inspection keyhole, the owner opens it with the combination; the keyhole is for authorized inspection access. Its presence alone does not mean a key is missing. If you selected an owner-keyed model, check its supplied contents against that product’s list.
Can cabin and checked sizes in one collection share a lock appearance?
A shared appearance can be a development requirement. Check the actual mounting and frame fit for each size. Approval of one size does not replace the assembly review for another, and a matching appearance does not necessarily mean identical fixing arrangements.
Can our logo go directly on the lock body?
Assess the available area, material, finish and component supply conditions separately, while retaining necessary system identification. A shell-logo method does not automatically suit a lock body, and complete-case logo customization terms are not automatically the terms for a custom lock body.
What should our after-sales team collect for a forgotten combination or stuck latch?
Collect the case model, order or batch reference, and photographs of the lock face and mounting area. Distinguish a forgotten combination from an unresponsive release, a latch that will not open or a lid that will not close. Video can clarify the action. Normal combination-change instructions are not a universal forgotten-code recovery method; discuss guidance, repair or matching spares for the actual product.
Send us the case and lock requirements together
Tell us the target market, case model and sizes, estimated quantity, and which aspects of the lock’s appearance or operation you want to retain or change. If you have a nominated brand or lock, include its model, drawings, reference images or sample requirements. We can then discuss installation, sampling and development for the candidate case, followed by the lock configuration, instructions and bulk supply requirements.
Tell us about your luggage project
Share your preferred model, quantity and customization requirements.