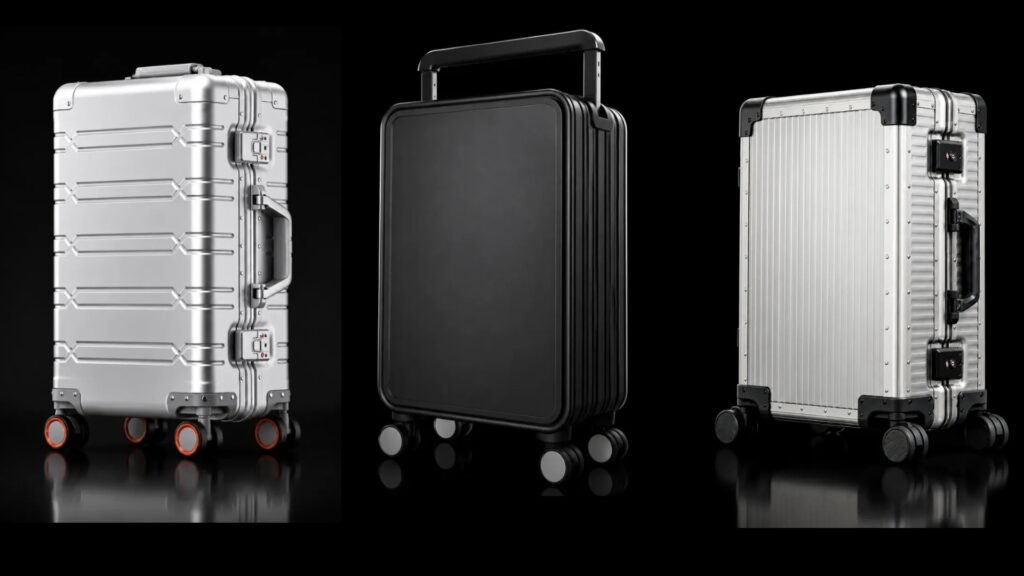
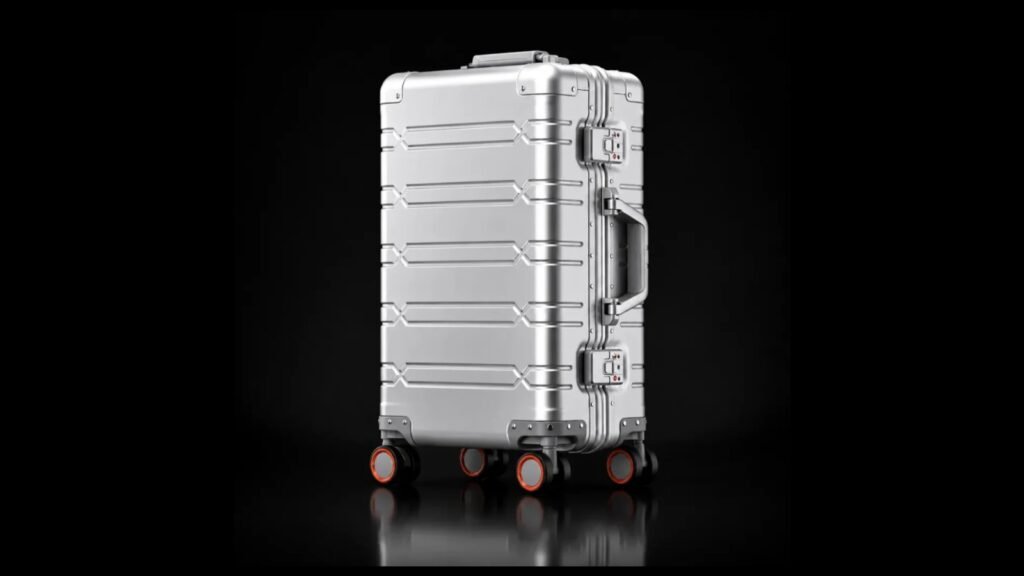
OEM vs ODM Luggage: Who Does What?
Before sampling custom luggage, list the design work, samples and files your project needs. Name who will prepare each item and who will approve it. Then each stage has a clear result: an agreed drawing, a sample decision or a final configuration for the order.
OEM generally means manufacturing to the buyer’s design and specifications. ODM generally starts with a manufacturer-developed design. Either route can include work on particular components or the interior. Tell us which design you are starting from and what needs to change, then agree on the work each side will handle.
What Should You Send to Start a Luggage Project?
You can start with a sketch, a reference case or drawings. Match the information to what you already have:
- An idea: describe the intended use, required size, items to carry and essential features. Add reference photos and explain which details you like. Mark any fixed size or launch requirement.
- An existing model: identify the model and size. Mark a whole-case photo and an interior photo with “keep,” “change” or “remove.” Send logo artwork, a finish reference and the contents list for any new pocket or insert.
- Your own drawings: send the current revision, units and required dimensions. Identify dimensions or features that must stay, and any areas where you want us to propose an alternative.
Say which details are references and which are fixed requirements. “I like this rib pattern” asks us to discuss a similar appearance. “Keep these outside dimensions” asks us to review the design within stated measurements. Mark undecided details as open, so we know which choices still need your decision.
We can review this starting information through our custom metal luggage development process. You do not need to choose an OEM or ODM label before explaining the product you want.
Who Prepares and Approves the Drawings?
Our development capabilities include CAD, prototyping and tooling. You can bring a sketch for further design work, ask us to review your drawings, or start from an existing model. Agree which drawings or layouts the project includes, then name the person who will approve them for your brand.
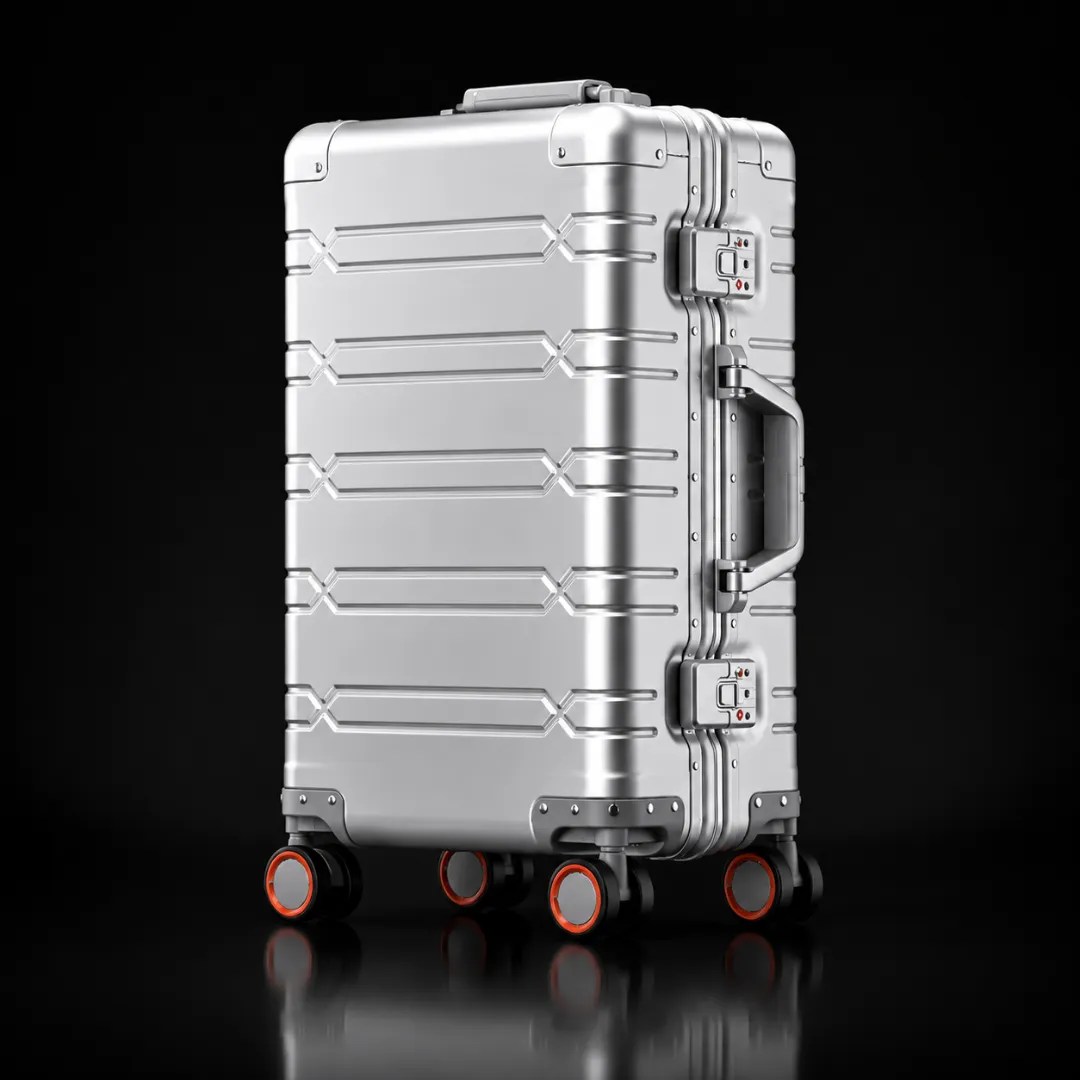
For example, keep the body of our TS-006 aluminum case and change an interior pocket. Your brief should show the intended contents, pocket width and height, and opening position. We can review that layout within the selected case. Different shell dimensions or a different opening structure need a separate design and tooling review.
Use the following as a starting plan for the work. Add the actual people, file names and dates agreed for your project:
| Work | Who provides what, and who confirms it? |
|---|---|
| Product requirements | You: provide the use, dimensions and essential features. We: review the selected model and missing details. Result: a list of required changes and open choices. |
| Drawing or layout | You: supply design references and artwork. We: prepare or review the drawings within the agreed scope. You approve: the dimensions, positions and version for the next step. |
| Sample | We: prepare the agreed configuration and identify temporary details. You: review it against the brief. Result: a decision on each requested feature. |
| Revision and handover | You: send one change list. We: review the work and its effect on price or timing. Both sides: confirm the revised scope and final references. |
Review each drawing for its stated purpose. For a pocket layout, check width, height, opening direction and position relative to a seam or edge. For new tooling, identify the actual part and the design revision to use. Use the assembled sample afterward to check the fit and operation that the drawing describes.
What Should This Sample Include?
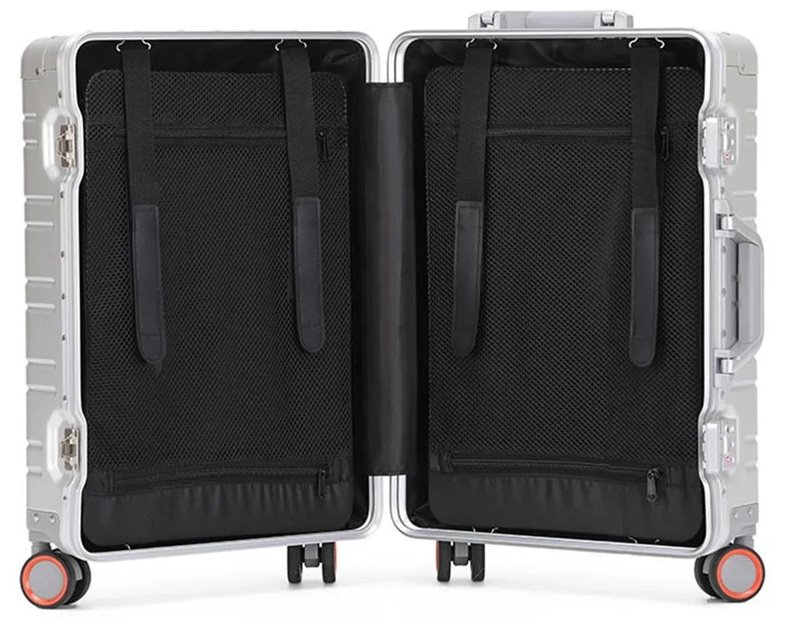
Before the sample is made, list the model, size, finish, logo, hardware, interior and packaging it should show. Mark temporary parts and anything reserved for a later review. This gives your team a clear list of decisions to make when it arrives.
The TS-006 interior shown here is a reference for discussing dividers, pockets and straps. If your request changes one pocket, identify that pocket in the sample brief. State its intended contents and the access you need when the case is packed.
Mark each requested detail as approved, revise or not shown. For example: “Case size approved; pocket opening needs moving; new lining fabric not shown.” That reply tells us which parts can stay and which need further work.
Choose the next review for each open item. Check corrected wording in updated artwork, color and texture on a physical reference, and pocket access on the assembled interior. If the sample used temporary fabric, review the selected fabric separately before recording it as approved. Specify who sends the revised item and who returns the decision.
How Should Sample Changes Be Recorded?
Send one change list for each sample round. Combine comments from your design, purchasing and sales teams, resolve conflicting requests, and name the person who will confirm the final instructions.
For a pocket change, a useful example record would read:
- Reference: TS-006, 20-inch sample A; mark the pocket on an interior photo.
- Problem: packed clothing covers the opening, making the pocket contents difficult to remove.
- Requested change: mark the proposed opening and its distance from the divider seam on a sketch. State the pocket width and height. Ask us to review that position with the divider, zipper and straps before making the revision.
- Applies to: the 20-inch version in the listed colors. Keep other sizes unchanged until their layouts have been reviewed.
- Next check: pack sample B with the same items. Open the pocket zipper fully, remove the contents, then check that the divider, straps and case closure still work as required.
Compare sample A with the approved layout before classifying the change. If the opening was made in a different position, record the difference as a correction. If it matches the approved layout but you now prefer another position, record a new design request. This tells us what work to discuss; it does not decide the charges.
Ask us to identify the proposed work, any charges, and the effect on the schedule. Confirm the proposal before the next sample is made. After checking sample B, record whether the original problem is resolved and whether anything else needs adjusting. Update the accepted layout and keep the earlier version for reference.
What Do Development Fees and Deliverables Cover?
For each development charge, list both the work and what you will receive. For example, a quotation for making a sample needs to say whether it also includes preparing the interior layout you want to review.
- Design work: name the parts being designed, the views and dimensions to be shown, the file format and when the files are due. For an interior, specify whether you need a pocket layout, divider dimensions or both. List any editable CAD file you need and agree whether it is included.
- Sample work: list sample quantities, sizes and configurations, including the finish, logo and interior to be shown. State what a further revision would include and whether sample shipping is quoted separately.
- Tooling: identify the part, the tool and the drawing revision covered by the charge. Write down the agreed ownership, storage, permitted use, maintenance and transfer arrangements required for that project.
- Files and records: list the approved drawing or layout, artwork, configuration and packing information to be supplied. Identify the version and delivery stage of each item.
Explain how your team needs to use a file. If you only need to review dimensions, say so. If you need to edit the design later, request the editable file and confirm its format, availability and permitted use before accepting the quotation. Keep these requirements separate from a request for a picture of the design.
If exclusivity matters, state which design, part or tool it concerns and record the agreed terms. OEM and ODM names do not list those terms for your project.
Compare quotations against the same list. If one includes layout work and a finished sample while another only includes making a sample from your supplied drawing, ask for the missing work to be priced before comparing totals. Our metal luggage quotation guide covers the rest of the order budget.
Which Version Will Be Used for Production?
Before arranging production, match the final sample to the order’s drawings, artwork and configuration. List the model and size, finish reference, hardware, interior and packing requirements, with the quantity using each configuration.
Use specific references. For example: “TS-006, 20-inch; sample B; interior layout B; logo artwork A; carton awaiting approval.” Add the selected finish reference and other agreed details to the same record. Name the person who confirms it for your brand.
If sample B has the revised pocket but the order still names layout A, update the order reference and check it against the accepted sample. If the carton is still pending, record who will provide its artwork or packing sample and who will review it. Complete that review before treating the packing details as approved.
After sample approval, we brief production and QC on the final requirements. Our luggage sample approval guide explains the physical checks and that handoff. The final record should let both teams identify the same product and the same approved versions.
To start your project, send the model or design reference, quantities, required changes and the files or samples you need delivered. Include the person who will confirm design and sample decisions, so we can discuss the next step with the right information.
Tell us about your luggage project
Share your preferred model, quantity and customization requirements.