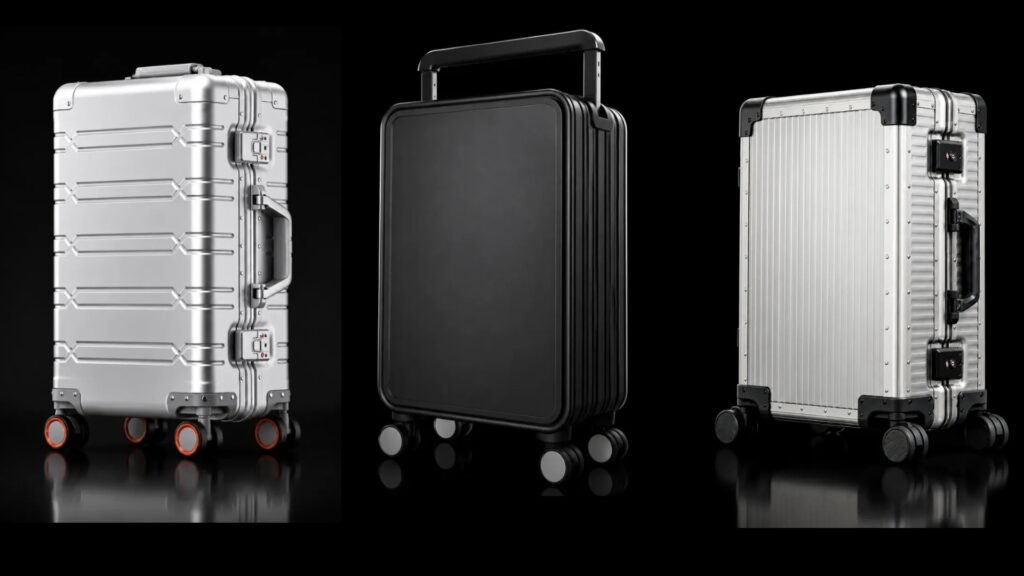
Custom Luggage Logos: Files and Samples
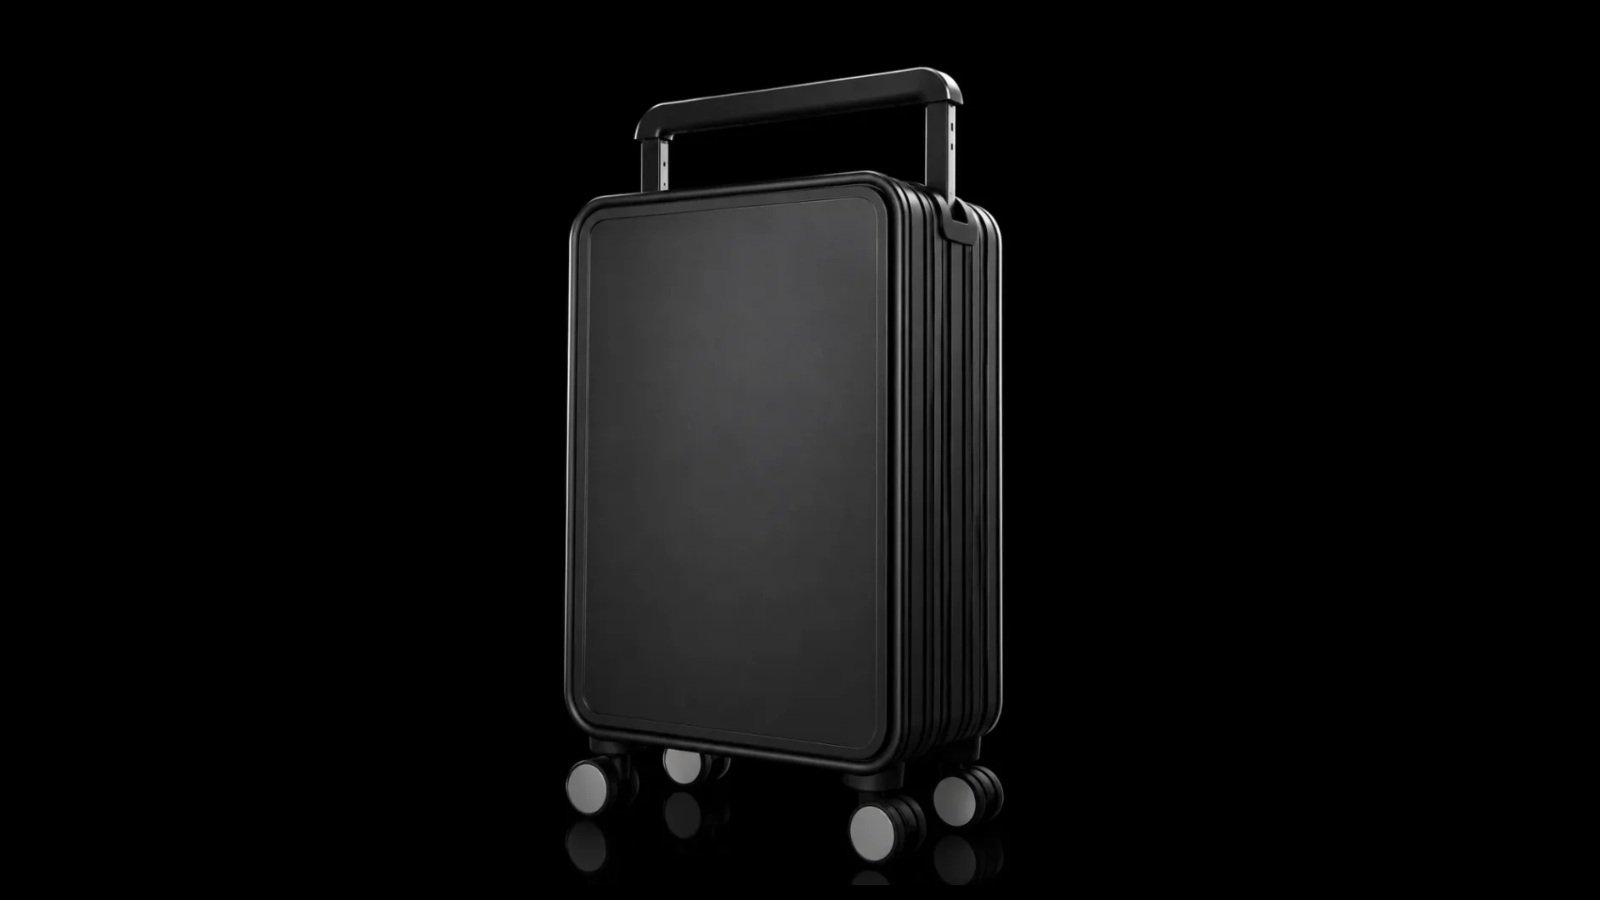
To add a logo to metal luggage, send the artwork and identify the case, finish, size and position you want. Use a layout to agree where the mark goes, then check a physical sample for its appearance and detail.
For our custom metal luggage, we can discuss metal plates, laser marking and printing. Start with the appearance your brand needs: a separate badge, a mark on the case surface, or a printed design with specified colors. The case and artwork help us decide which options to review in a sample.
Where Will the Logo Go on This Case?
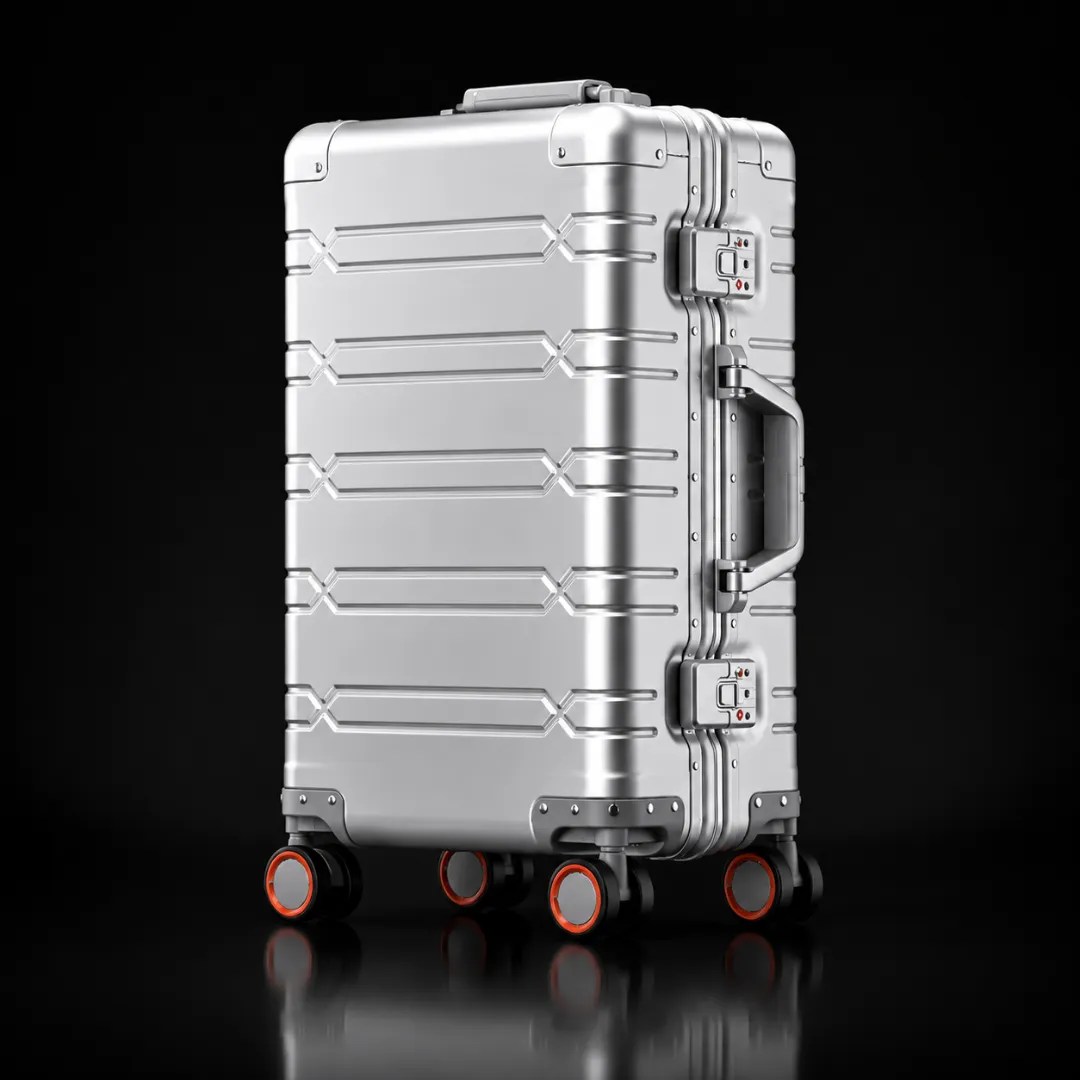
Choose the model and mark the proposed area on a whole-case photo. State whether the request concerns the shell, a separate plate, or an interior label or lining. Each location needs its own artwork size and method review.
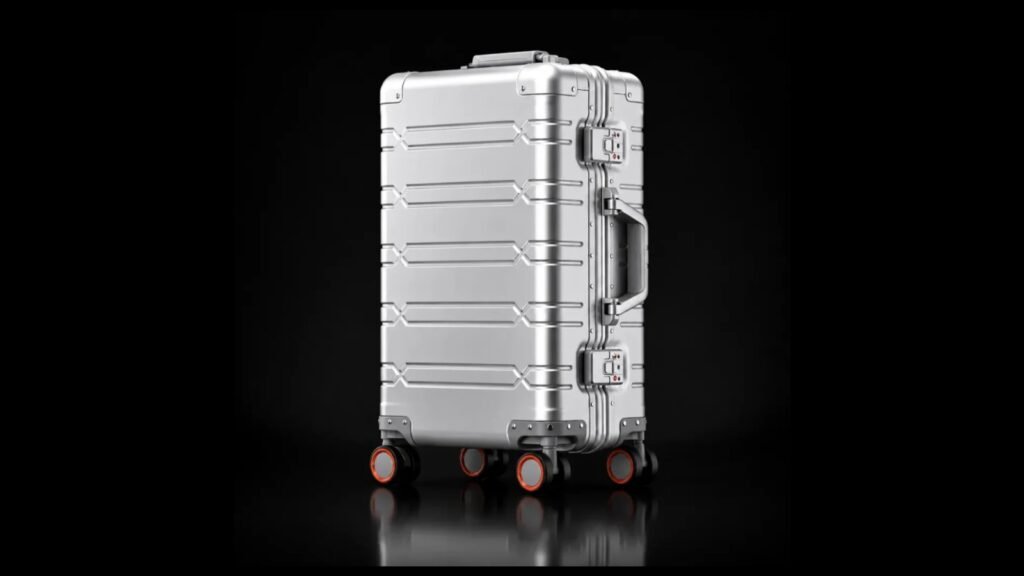
Our TS-006 has ribs across the shell and hardware beside the frame. Use those visible features to identify the available area. Check where the logo will sit when a carry handle is folded down and whether a plate would extend across a rib or edge.
Send a close-up of the chosen area as well as the whole-case view. The close-up shows the surface and nearby parts; the full view shows the logo’s proportion on the suitcase.
If a plate would cross a raised rib, mark the overlap and ask us to review its outline and fixing area. Compare moving it into the panel with changing the plate shape. For printing or laser marking, identify the exact surface to be marked. When the location or finish changes, review the affected detail again.
What Artwork Should You Provide?
Send the original file from your designer, plus a preview showing the correct appearance. Vector artwork is made from lines and shapes, so it can be resized without pixelation. A screenshot is made from pixels and may blur when enlarged. A PDF can contain either type; saving a screenshot as a PDF does not turn it into vector artwork.
Identify the final wording, symbol, file version, intended width and height, and required colors. State whether to use the full brand name with its symbol, the name alone or the symbol alone. If a one-color version is acceptable, send the version your brand has approved. Put the version and variant in the file name so we can identify the correct artwork.
For lettering, ask your designer for an outlined copy when needed. It turns letters into shapes, so their appearance does not depend on the font being installed. Check the spelling first and keep an editable master for later changes.
If you only have a JPG or PNG, send the largest, clearest original you have. A bitmap is not automatically unsuitable for laser marking; the preparation depends on the chosen process. We can discuss the file and method together, then agree which file will be used for the sample.
If a letter or gap is unclear in the file, mark it before sampling. Ask your designer to correct that detail, then check the revised preview before approving it. Keep any approved simplification with its file version.
What Should You Compare for Each Method?
Start with the appearance you need to keep. Compare a metal plate if you want a separate badge, a laser mark if you want a mark on the surface without a separate plate, and printing if specified brand colors are central to the design. Then review the candidate on the selected case:
| Method | What to decide and check |
|---|---|
| Metal plate | Review the badge outline, thickness and finish, then its agreed fixing method. On the case, check that it sits as intended, its edges are acceptable, and it clears ribs, handles and nearby hardware. |
| Laser marking | Check whether the mark is easy to see on the selected finish and whether small letters remain clear. If the contrast is too low, compare a revised sample or another method before selecting it. |
| Printing | Compare the printed colors with the agreed reference. Inspect solid areas, fine lines and edges on the actual case surface. Specify any required wear or adhesion checks separately, with their acceptance requirements. |
On anodized aluminum, a change in finish or marking method can change the visible result. If you switch the case finish after reviewing a laser sample, check the mark on the new finish as well. Use that result to judge contrast and lettering, and compare it with the printed option if the brand requires a particular color.
For a plate, check the installed sample as well as the loose badge. Record its fixing method and inspect the edges and contact with the case. If adhesive fixing is proposed, review it on the actual finish because the surface and coating matter to the bond. An acceptable appearance still leaves any required attachment test to be completed.
How Do You Specify Size and Position?
Write the logo width and height in millimeters. State whether you are measuring the symbol, the full name and symbol together, or the outside of a badge. Keep the artwork in proportion: if you set the width, ask for the matching height to be shown on the layout.
Choose a visible reference for positioning, such as the inner edge of the frame or the lower edge of a particular rib. Mark both the reference and the logo edge used for the measurement. State whether “centered” means the entire case face or the selected panel between ribs.
A specific revision request could read: “Keep artwork A and its approved width. Move it into panel B on the attached photo. On the revised layout, label the height, the gap from the logo’s top edge to the lower edge of the rib above, and the gap from its right edge to the marked frame edge.” Fill in the agreed measurements and approve that layout before application.
Then review the position on the case. Fold the carry handle down and check the nearby hardware. For a plate, include its full outline in the layout. Confirm the positioning for each suitcase size; the same logo width may give a different proportion on a larger case.
What Should You Check on the Physical Sample?
Put the approved artwork and placement layout beside the sample. Review these points:
- Wording and shape: compare spelling, symbol, letter proportions and orientation. Check that the sample uses the approved artwork version.
- Small details: look at the narrowest strokes and spaces between letters. Mark any filled gap, broken line or unclear detail on a close-up.
- Appearance: compare printed colors with the agreed reference, or review the tone and contrast of a laser mark or plate on the chosen finish.
- Position and installation: measure the agreed reference distances, view the whole case, and check plate edges, alignment and the agreed fixing arrangement.
If a gap between letters fills in, mark the affected letters on a close-up and compare them with the approved artwork at the intended size. If the file is already unclear, discuss a clearer original, a larger mark or a brand-approved simplified design. If the file is clear but the sample is not, ask us to review the application on that finish before deciding whether the artwork needs changing. Check the revised sample against the agreed file and size.
If the folded handle covers the logo, take a whole-case photo with the handle down. Mark the new position and update the distances on the layout. On the next sample, lower the handle again and check that the complete logo is visible. Use the same view to compare the original problem with the revised result.
Record a decision for each item: approved, revise or not yet shown. Our luggage sample approval guide covers the rest of the case review.
What Belongs in the Logo Approval Record?
Copy these fields into your inquiry or sample feedback. For each approval, identify the file, layout or sample you reviewed and record what is accepted or still needs work.
| Field | Details to fill in |
|---|---|
| Case and location | Model: ____; case size: ____; application area: ____; material and finish reference: ____. |
| Artwork | File name and version: ____; full wordmark or symbol: ____; approved wording: ____. |
| Method and appearance | Proposed method: ____; color or physical appearance reference: ____; plate fixing, if applicable: ____. |
| Size and position | Width × height: ____ mm; orientation: ____; marked reference edges and measured gaps: ____; layout version: ____. |
| Order coverage | Sizes, colors and quantities using this version: ____; any versions requiring separate review: ____. |
| Review decisions | Artwork: ____; placement: ____; physical sample ID and result: ____; pending changes: ____. |
| Confirmation | Brand approver and date: ____; final file and sample references to use: ____. |
A useful reply could read: “Artwork B and placement layout B approved. The physical mark still needs clearer lettering. Please review that detail on the selected finish and send the revised sample for checking.” The wording records the two accepted references and the sample issue that remains open.
Ask the quotation to identify artwork preparation, the plate or other component, any tooling, application and sample work. Check which are included and which are separate charges. If you also change the shell finish or interior, include those changes in the request; our custom luggage order guide explains the quantity conditions.
Send the completed brief through our custom metal luggage page. With the case, artwork and intended result identified, we can discuss the method and the sample you need to review.
Tell us about your luggage project
Share your preferred model, quantity and customization requirements.