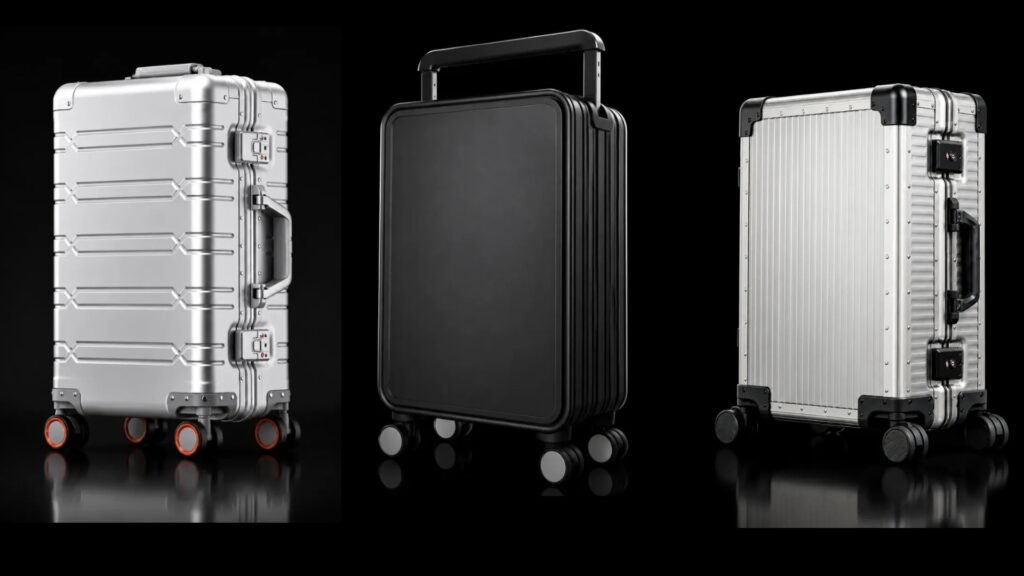
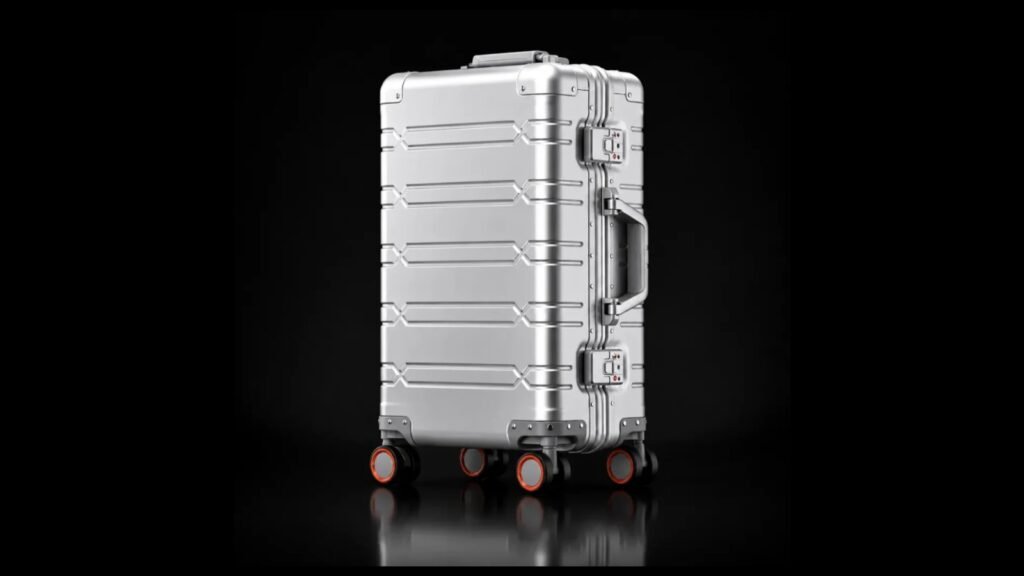
How to Choose Sizes for Your Luggage Collection
A luggage collection does not need every available size. It needs sizes that give your customers a reason to choose between them. Start with the range your channel intends to sell, decide what each case should do, and then choose a shell family and the configuration for each size. A coordinated look can run through the collection without making every interior and fitting identical.
Choose one size, a pair or a three-size range
Start with the range your channel is ready to sell. If a retailer has requested one carry-on, choose that case first and keep the larger sizes available for a later release. If the brief calls for both carry-on and checked luggage, select the pair together. A three-size range makes sense when each size has a place in the sales plan, rather than simply because three options are available.
For our TS-006 and TS-004 ranges, you can discuss the following combinations using existing 20-, 24- and 28-inch options. The size names identify the options; the finished measurements still determine how the cases fit the intended use.
| Range to discuss | When it answers the brief | What would justify adding another size |
|---|---|---|
| One size | The launch has one defined product or a channel has requested one case. | A different packing requirement or a new channel request. |
| 20 and 24 inch | The brief calls for a smaller case and an intermediate alternative. | Actual demand for a larger packing option beyond the selected pair. |
| 20 and 28 inch | The channel wants a smaller case paired with the larger option in the range. | A reason to offer something between them, based on measured space and the channel brief. |
| 20, 24 and 28 inch | The channel intends to sell all three individually or offer a matching three-piece set. | The initial task is to distinguish the role and configuration of each size. |
You can also plan the whole family now while launching only part of it. Set the shell design, finish reference and branding approach with the future sizes in mind, then identify which versions belong in the first order. That gives the next release a design reference without assuming that every size must be produced immediately.
Use channel orders, preorder requests or your own product brief to decide which combination to discuss. Where sales data is not available, the decision starts with the intended customer and what each case needs to carry. Choose the first range from those requirements and adjust it as channel feedback becomes available.
Give each added size a different job
When adding a size, compare what changes for the customer. Extra shell height is only one difference. Width, depth, usable compartment shape, finished empty weight and the way the case opens can all affect the choice. A taller case is not automatically the right answer for a wider item.
Take a retailer choosing between adding the middle or the largest case. Compare the items the customer wants to pack, the usable space in each option and the finished case dimensions. If the middle case already accommodates the intended load and the channel wants that format, it has a reason to be included. If the brief specifically needs the larger option, select that case and check its configuration. Neither decision follows from the inch label alone.
For a document or sample program, write down the item dimensions and show where they sit inside. Include sleeves, boxes and any protective packaging that will remain on the items. Check both the available space and the route through the opening. A compartment can have enough overall volume while its opening or divider position prevents the required item from going in as intended.
For clothing, compare the actual arrangement: open packing sections, divider position, straps and pockets. A larger case does not need a proportionally enlarged version of every pocket. It may need more open space around the same items, or a different split between smaller stored items and clothing.
If the range will be marketed for cabin use, use the finished external dimensions with wheels and projecting hardware, the final weight and the relevant current carrier requirements. The size label does not replace this check. Keep the product dimensions, usable interior and shipping carton dimensions as separate entries in the specification.
Our guide to luggage for different uses explains access in daily and business settings. For the collection decision, use those tasks to decide which sizes deserve a place in the range.
Use an existing size range as the starting point
Our TS-006 and TS-004 both offer 20-, 24- and 28-inch options. That gives you existing sizes to consider before requesting a new shell dimension. Choose between the designs first, then identify the sizes and changes that fit your product brief.
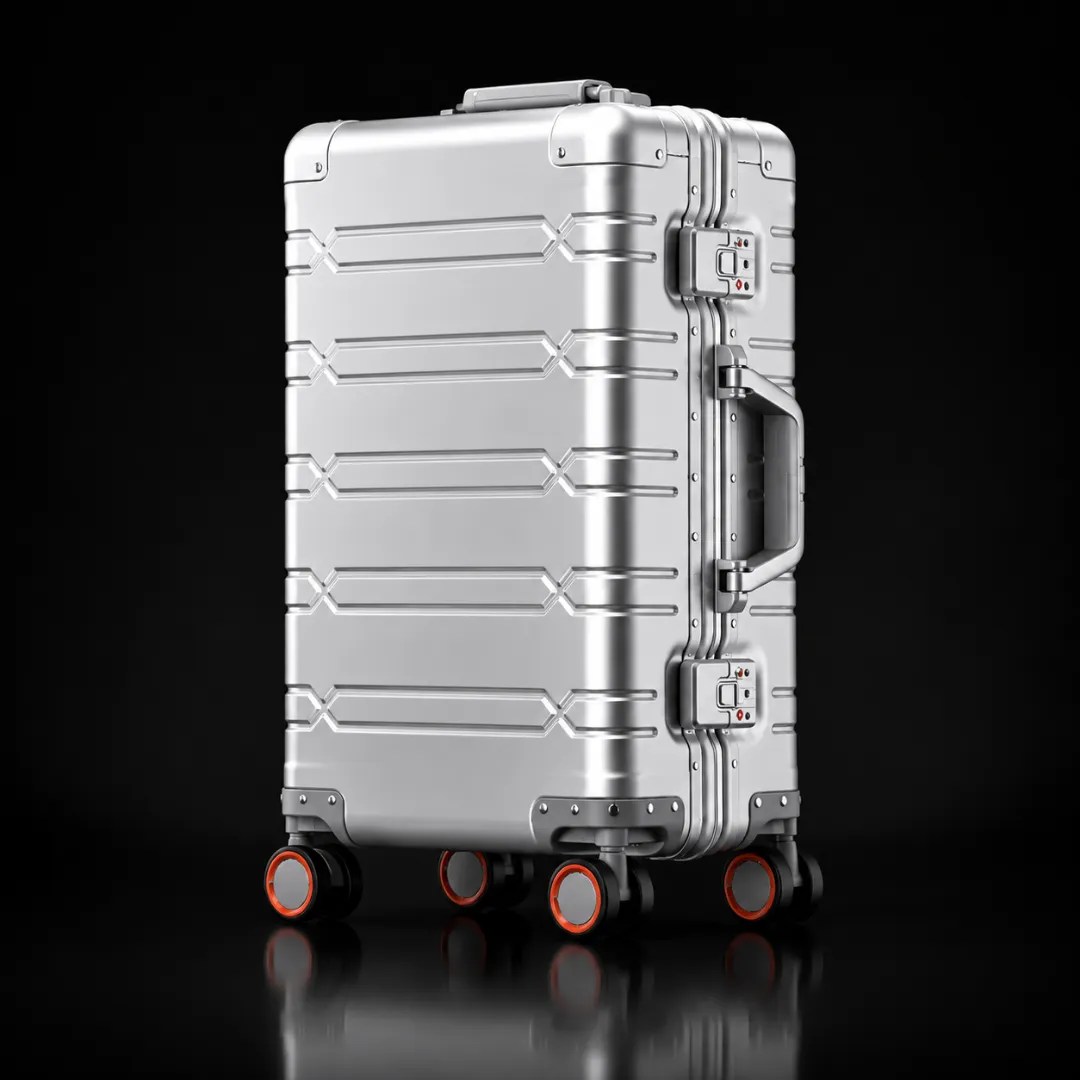
TS-006: a ribbed aluminum design
TS-006 combines an aluminum shell with a frame, TSA combination latches and four spinner wheels. Its product options include shell color, branding, lining, fittings and packaging. Start by deciding which of those details you intend to keep across the range and which need a size-specific arrangement.
The standard 20-inch TS-006 is listed at 3.6 kg. Request a separate finished weight for each larger size and for any revised configuration, then keep those figures with the corresponding specification.
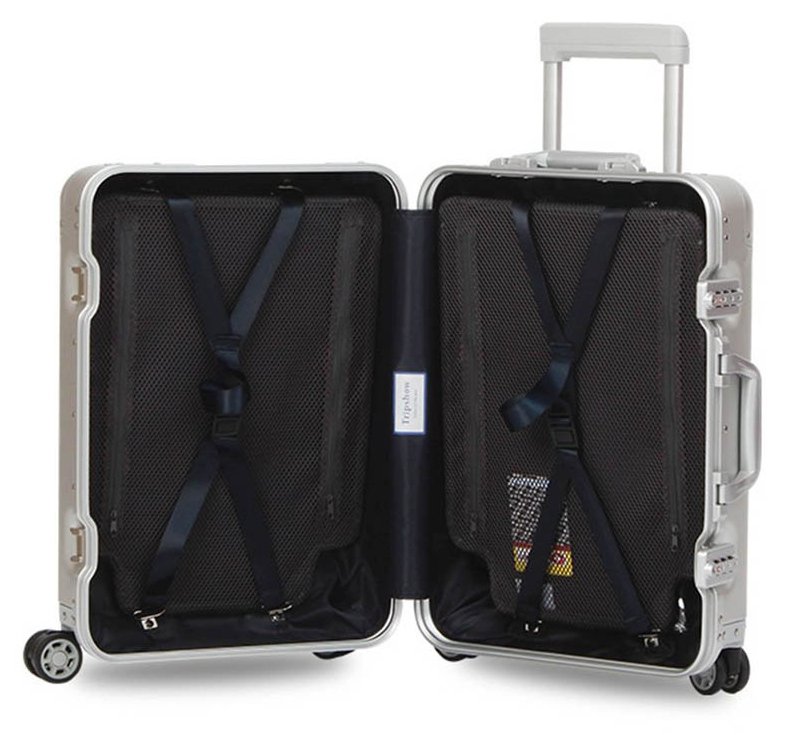
TS-004: individual sizes or a matching set
TS-004 has an aluminum-magnesium alloy shell, frame-and-latch closure, telescopic handle and four twin-wheel units. The listed order formats include individual sizes and a matching three-piece set. Black and silver are shown; branding, finish, interior and fittings can be discussed for your project.
If your channel sells sets, decide which sizes belong in each set and how they will be packed. If the launch needs only one size, select that version first and keep the other sizes available for a later release.
List the finished outside dimensions, empty weight, usable compartment dimensions, capacity reference and fitted components for every size in the proposed order. Keep those entries matched to the configuration being quoted. When a component or interior changes, update the affected entries before using them in product listings.
If the required size or shape is outside an existing range, send the actual external target and packing requirements. New sizes or shapes are reviewed separately for design and tooling. We should establish that scope before treating a new dimension as a simple option on an existing order.
Choose the sales format and packing method separately
Decide whether the cases will be sold individually, in a fixed combination, or both. A matching design can support a range of single cases as well as a set. If customers can buy another size later, each case needs its own complete product identification and agreed presentation. A fixed set also needs a clear list of what the customer receives.
Separate that sales decision from the shipping arrangement. A retail set might use nested packing for transport, while another order may pack each case separately. The carton dimensions, protection and gross weight should describe the arrangement being quoted, not a generic set.
TS-004 lists nested shipping on request. To review that option, specify the size combination and place the smaller case into the next case with the proposed protective materials. Check the available space around its wheels, handles and frame, the position of the receiving case’s dividers and whether the outer case closes normally. Repeat the proposed sequence for the complete set.
If you change a divider, handle or other projecting part, review the packing sequence again with that change included. Then confirm the actual carton dimensions and gross weight. Product capacity in liters does not describe the shipping carton, and a nested arrangement does not by itself provide a verified freight-saving figure.
Joining cases so they move together requires a connection design. Nesting for storage or shipping does not provide that function. State the required function in the brief so the proposed set is described accurately.
After choosing the range and sales format, use our size and color allocation guide to translate the plan into quantities and ordering conditions.
How would a 20- and 28-inch TS-006 range be specified?
If your channel wants a smaller case and the largest TS-006 option for the first release, start with 20 and 28 inches. Keep the aluminum shell design, agreed finish and branding approach coordinated. Then write a separate interior and component specification for each size.
Suppose the smaller case needs a place for a document folder while the larger case is intended mainly for clothing. The folder requirement can be discussed as a pocket or divider arrangement in the smaller case. Mark its dimensions, position and opening. The larger case can retain more open packing space with its own divider and strap layout. The shared lining theme can connect the two without copying every pocket.
If the folder must be accessible without opening the main case, that changes the opening requirement, not just the pocket layout. On the standard TS-006, reaching an internal folder means opening the main case. If your customer needs a separate access pocket, compare a corresponding opening design or another model before drawing the interior.
| Design decision | 20 inch | 28 inch |
|---|---|---|
| Shared appearance | Agreed shell style, finish reference and logo treatment. | The same agreed design references, reviewed on the larger shell. |
| Interior task | Show the required folder pocket, its opening and surrounding packing space. | Show clothing space, divider arrangement and straps for the intended contents. |
| Pull handle and wheels | Specify the fitted assemblies, mounting and intended loaded use. | Review the assemblies against this case and its intended loaded use. |
| Product information | Finished measurements and weight for this configuration. | Separate finished measurements and weight for this configuration. |
| Sample review | Demonstrate the selected finish, logo and proposed layout. | Review the larger interior, fitted parts and overall collection appearance. |
The result is a proposal that tells us which details are shared and what each case needs to do. If the channel then requests an intermediate option, compare the 24-inch version against that new requirement. Do not add it solely to fill a gap in the size names.
For quotation, keep the base case and changes separate. Retaining the existing shell and fittings while adding a logo is different work from changing the interior or developing a new external profile. Name the changed parts and the sizes affected so the quotation can address the actual design.
Approve the details that differ between sizes
Review the selected cases together for the overall design, then inspect the differences on the case where they occur. If the larger case has a new divider, put its intended contents into that layout and check the opening, access and closure. A small case with the same lining color cannot demonstrate the larger divider fit.
For a changed pull handle or wheel unit, check installation and operation on the size that uses it. Record the component reference and the case where it was reviewed. If the same proposed component will be used elsewhere in the range, identify the other sizes and the installation information or physical review needed for those cases.
Keep four entries for each selected size: the current specification, the sample or reference used for approval, the changes made during review, and the points still to resolve. A shared color reference can apply across the collection; a particular pocket fit or assembly installation belongs to the case it demonstrates.
If the review moves a pocket, changes a wheel or revises the packing arrangement, update the affected size’s specification and the related product or packing measurements. Then confirm whether the change affects the quote or schedule. Our sample approval guide covers the wider process; here the focus is keeping approvals accurate across the size range.
Send us the range you want to build
You do not need to arrive with a completed engineering specification. A useful first brief tells us which customers and channels the range serves, which sizes you want to offer now, and which design details matter to your brand.
- Market and channel: where the collection will be sold and whether the cases are sold individually, as sets, or both.
- Starting model and sizes: the existing design you prefer, any required external limits, and sizes you want to add later.
- Shared appearance: shell reference, color and finish, logo position, and handle or fitting preferences.
- Differences by size: intended contents, interior layout and any components you want to change.
- Order and packing: planned quantities, retail packaging, any nesting request, destination and delivery target.
From there, we can discuss an existing range such as TS-006 or TS-004, identify the changes for each selected size and distinguish those changes from new shell development. The proposal should make clear which existing options suit your brief, what needs further review and what the sample needs to demonstrate.
Explore our custom luggage options, or send your preferred model and range plan through our contact page. Tell us what you want the collection to do. We can then discuss how the sizes, appearance and configuration should work together.
Tell us about your luggage project
Share your preferred model, quantity and customization requirements.