How Aluminum Luggage Is Made: From Shell Forming to Inspection
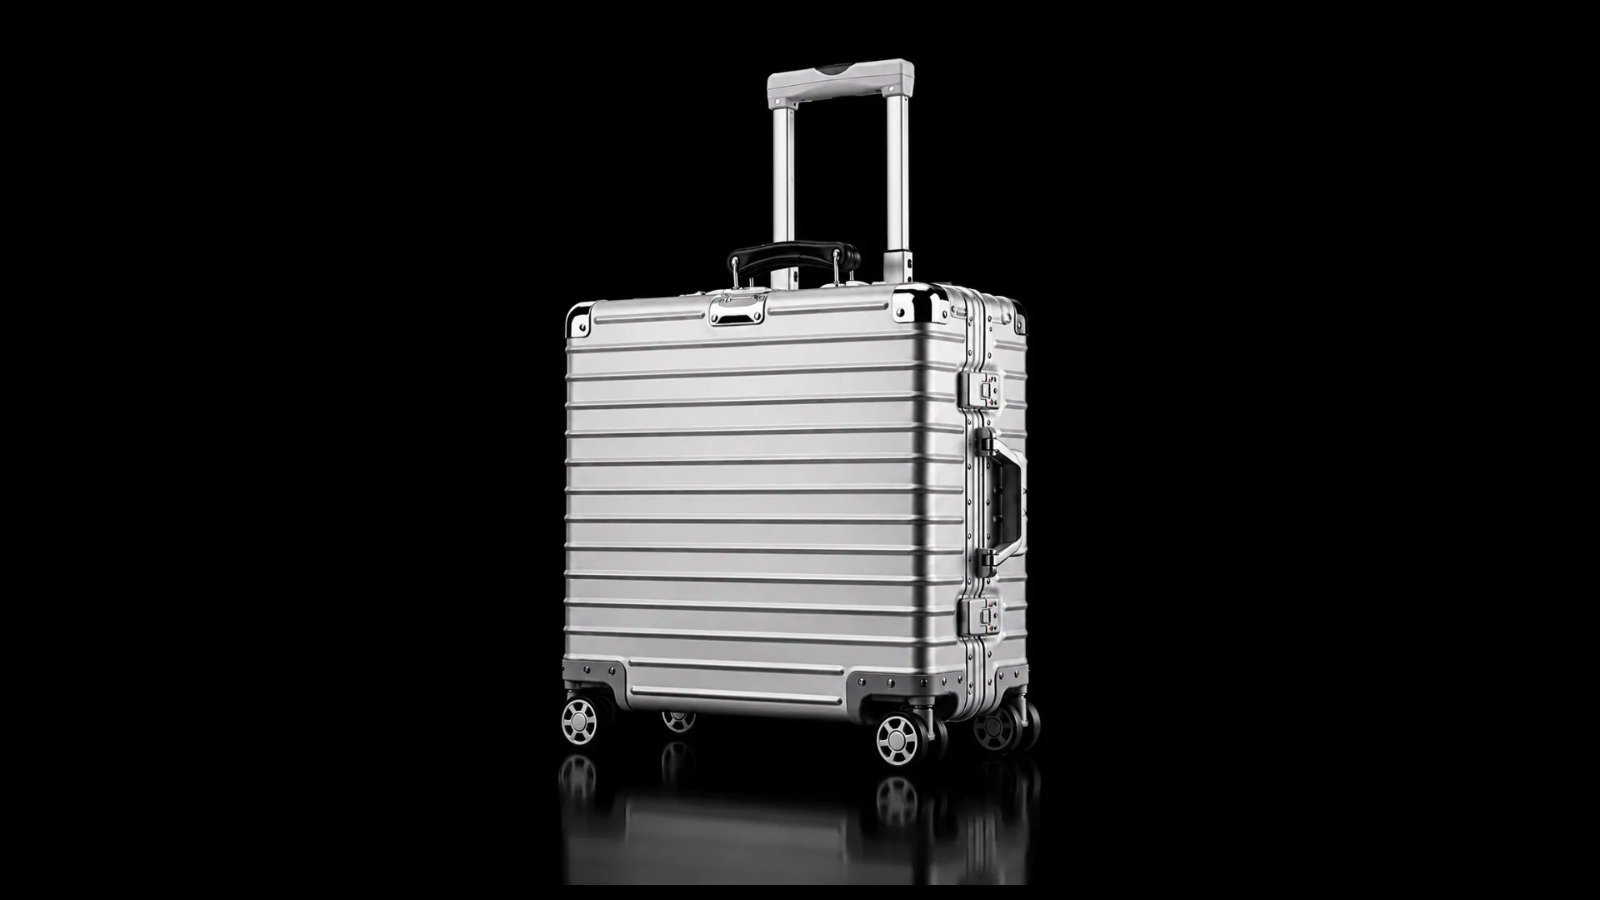
Forming an aluminum panel is only one part of making a suitcase. The shell still needs edge and mounting-hole work, a matching frame, hardware and a fitted interior before inspection and packing. For a brand developing its own luggage line, these steps explain how a design becomes a physical product—and what needs approval before bulk production.
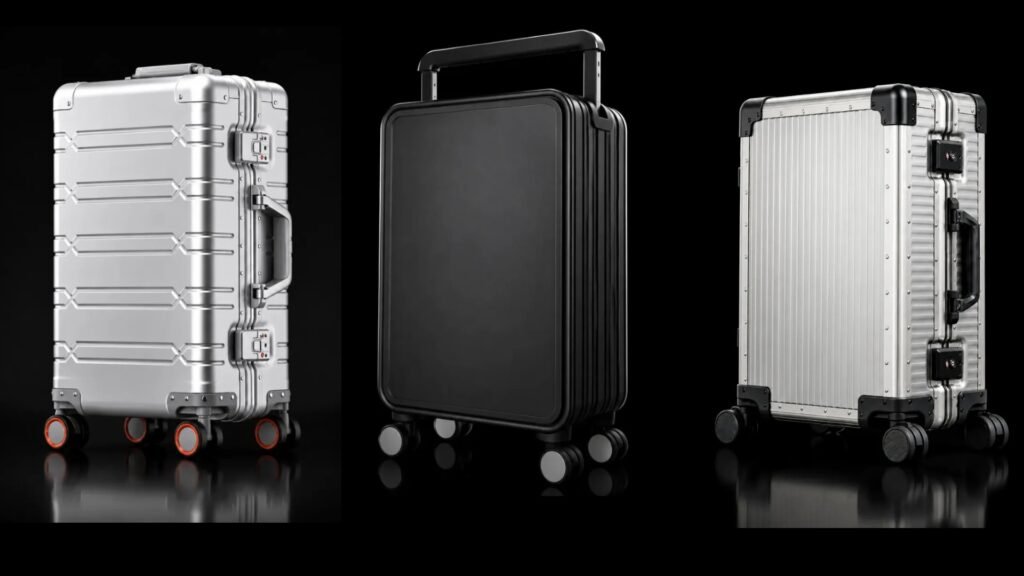
At SuitcaseMaker, we can customize an existing model or develop a new shell from your design. The examples below use our aluminum luggage models and workshop materials to explain the process. They cover aluminum-alloy shells; individual models and finish options have their own production requirements. If you are comparing factories, our metal luggage manufacturer guide covers shell construction, development scope and sample approval.
Model and configuration approval → Shell and frame fabrication → Surface finishing and branding → Assembly → Project-specific sampling inspection → Packing
Components can be processed separately. The exact sequence depends on the model and finish.
Define the Model, Materials and Custom Changes
You can start with an existing case and specify colors, branding, hardware and interior details. A new shell design also requires the shape, frame fit and mounting positions to be developed before the tooling scope is settled. Even when starting from an existing model, changing its depth or corner shape means reviewing the affected structure.
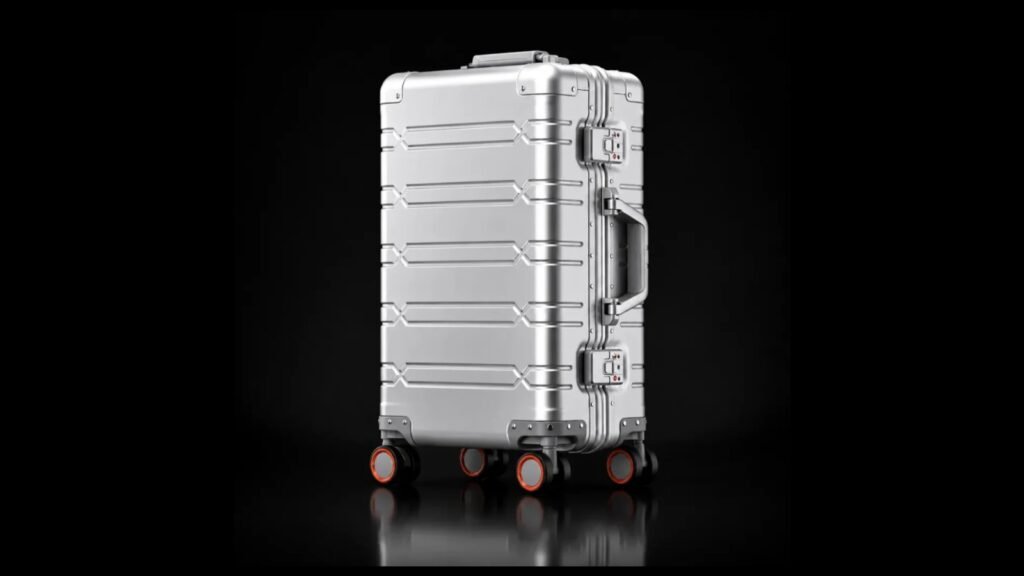
Material specifications should identify the part they apply to. For example, our YCT-056 has a 5000-series aluminum-magnesium alloy shell. That does not mean its wheel housings, locks and fasteners use the same alloy. Defining the shell material, dimensions, finish and hardware gives fabrication, assembly and sample review a shared reference.
Form, Trim and Drill the Shell Components
TS-006: Hydraulic forming followed by trimming and drilling
Our TS-006 shell panels are formed on a hydraulic line, then trimmed and drilled for hardware before anodizing and assembly. Forming establishes the panel shape; trimming prepares its edges; drilling establishes the required mounting holes. A panel leaving the press still needs this work before it can be assembled with the frame and fittings.
For a custom design, changing the ribs or corners requires a review of the forming tools. Changing a lock or handle requires a review of its mounting position and holes. Confirming these choices before panel processing helps keep the shell matched to the selected components.
YCT-056: One sheet forms one half-shell
YCT-056 uses a single-piece drawn half-shell, with no joint between separate panels across its face. “Single-piece” describes an individual front or rear shell. The two halves, frames and hardware still need assembly.
Hydraulic forming describes a manufacturing method, while a single-piece half-shell describes the resulting structure. These are not opposing categories. For your model, the useful questions are how the shell is formed, where parts must be joined and what machining or finishing follows.
YCT-026: Prepared panels before assembly
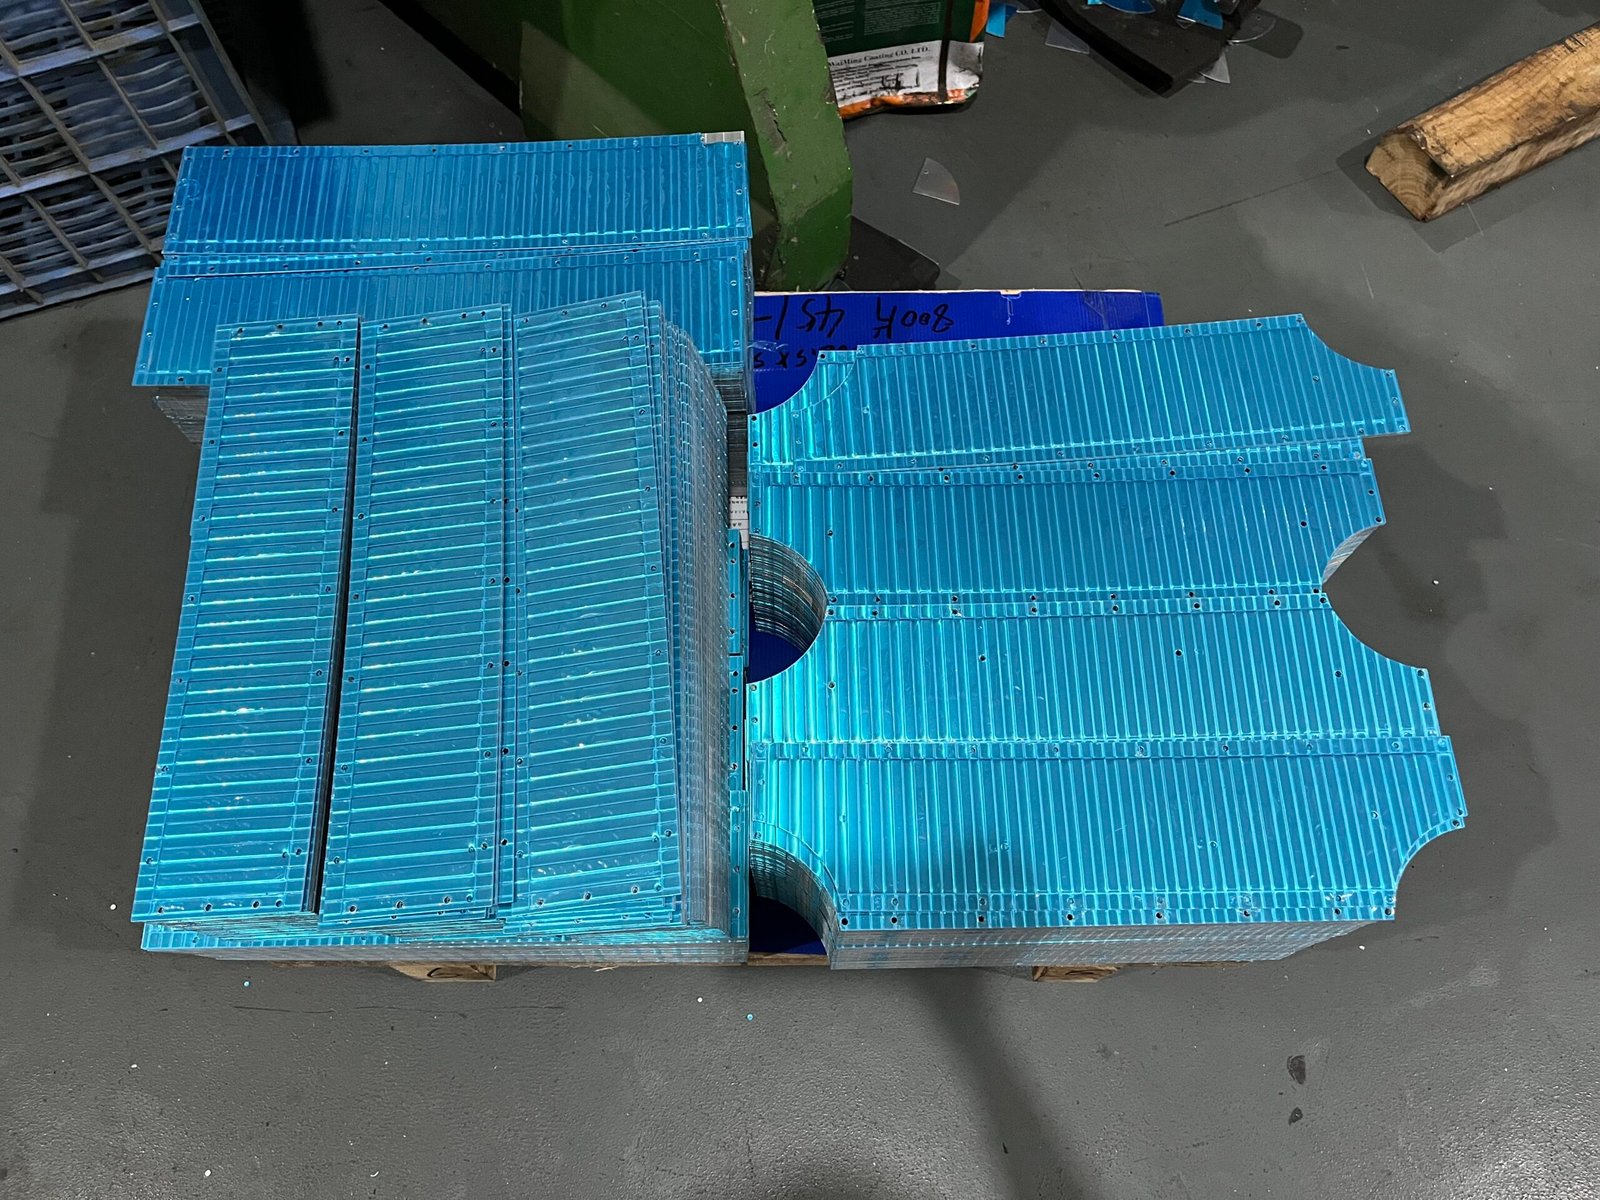
The YCT-026 workshop photo below shows ribs, edge cutouts and rows of holes already present in the prepared panels. The shaped and processed parts are still separate components at this stage.
Confirm the Surface Finish, Color and Logo
“Matte black” does not fully define a finish. Brushed texture, a sandblasted appearance and gloss level can all change how the same color looks. We discuss the finish method alongside the color you want for your brand.
The matte anodized finish on our TS-005 involves degreasing, etching and anodizing. Brushed or sandblasted effects can also be discussed for customization. Mechanical preparation changes the surface texture, while anodizing forms an oxide layer on the aluminum. The underlying texture still affects the finished appearance, so a different look may require a change in preparation as well as color.
We recommend approving color, texture and gloss using physical samples. If the shell and frame should match, review them together. Different alloys and processing conditions can produce differences in appearance; a single color swatch cannot replace checking the assembled combination.
Logo options include laser engraving, UV printing, screen printing and metal badges. Confirm the size and position as well as the artwork, including whether the logo sits on a flat area or near ribs. A badge that requires mounting holes needs those holes included in the fabrication plan. The order of branding and finishing depends on the selected method.
Fit the Shell and Frame, Then Check Closure
Our aluminum range includes pressed-panel construction with a riveted frame. The shell provides the storage space, while the frame surrounds the opening; their profiles and mounting positions need to fit together. Where a riveted connection is used, the parts must be positioned correctly before fastening. Riveting does not correct a mismatch between the parts.
For example, the rounded frame on our TS-010 is checked against a gauge after forming and before shell assembly. The gauge provides a reference for the actual formed profile. If your design changes the corners, the shell and frame need to be reviewed together.
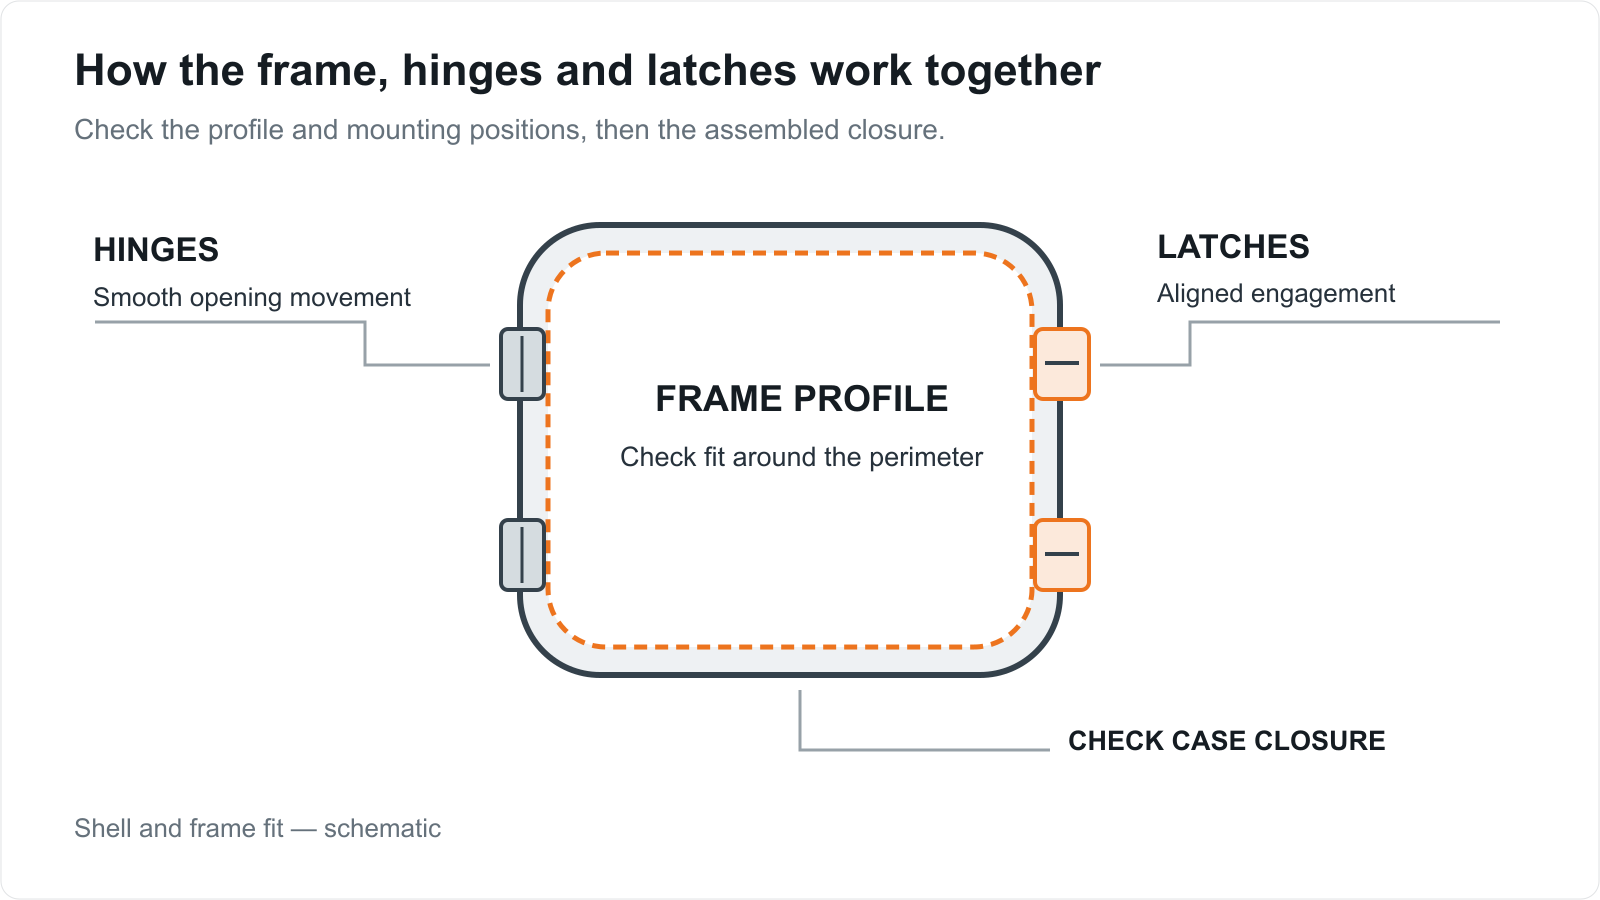
Once the shell and frame are combined, the hinges and latches must work with both halves. Hinges control opening movement; latches hold the case closed. Check the meeting position, the gap around the frame and the opening and closing action together. If a section needs noticeable force to close, the fit and hardware positions need investigation. Pulling the latch shut is not enough to establish that the assembly fits correctly.
Install the Wheels, Handles, Locks and Interior
Assembly brings the selected components together at the case’s mounting surfaces, holes and fixing points. Fastening arrangements depend on the model and component; one installation method should not be assumed to apply to every case.
Wheels and trolley handles: Mounted wheels need room for their housings to swivel, while the trolley handle needs to extend, retract and lock at its intended positions. The sample must show how the components operate in the assembled case. For tread materials and single- versus double-wheel configurations, see our luggage wheel guide.
Hinges and locks: Their mounting positions must match the frame and the two case halves. Opening, closing and operating the latches checks the assembled fit. A replacement lock needs compatible mounting and engagement positions as well as suitable dimensions; a similar appearance does not establish interchangeability.
Linings and fitted inserts: Fabric panels, pockets, dividers and straps must fit the interior and leave room for internal hardware such as the trolley handle assembly. For corporate projects carrying a defined set of items, provide dimensions or physical samples so the insert can be developed around them. Reviewing the loaded sample shows whether the items stay in place, remain easy to remove and allow the lid to close.
The completed sample brings the shell, finish, hardware and interior together. Approve that assembled configuration, including its appearance and operation, as the reference for bulk production. If you request changes during sample review, we recommend confirming the revised components and final configuration together so production is not based on a mixture of different sample versions.
Inspect Each Batch and Agree on Defect Handling and Packing
We carry out sampling inspections on every batch according to the customer’s project requirements. Remote inspection is available if you cannot visit the factory. Agree on the inspection items and acceptance requirements when placing the order, then compare the sampled cases with the approved sample and configuration.
Separate appearance checks, functional checks and performance tests
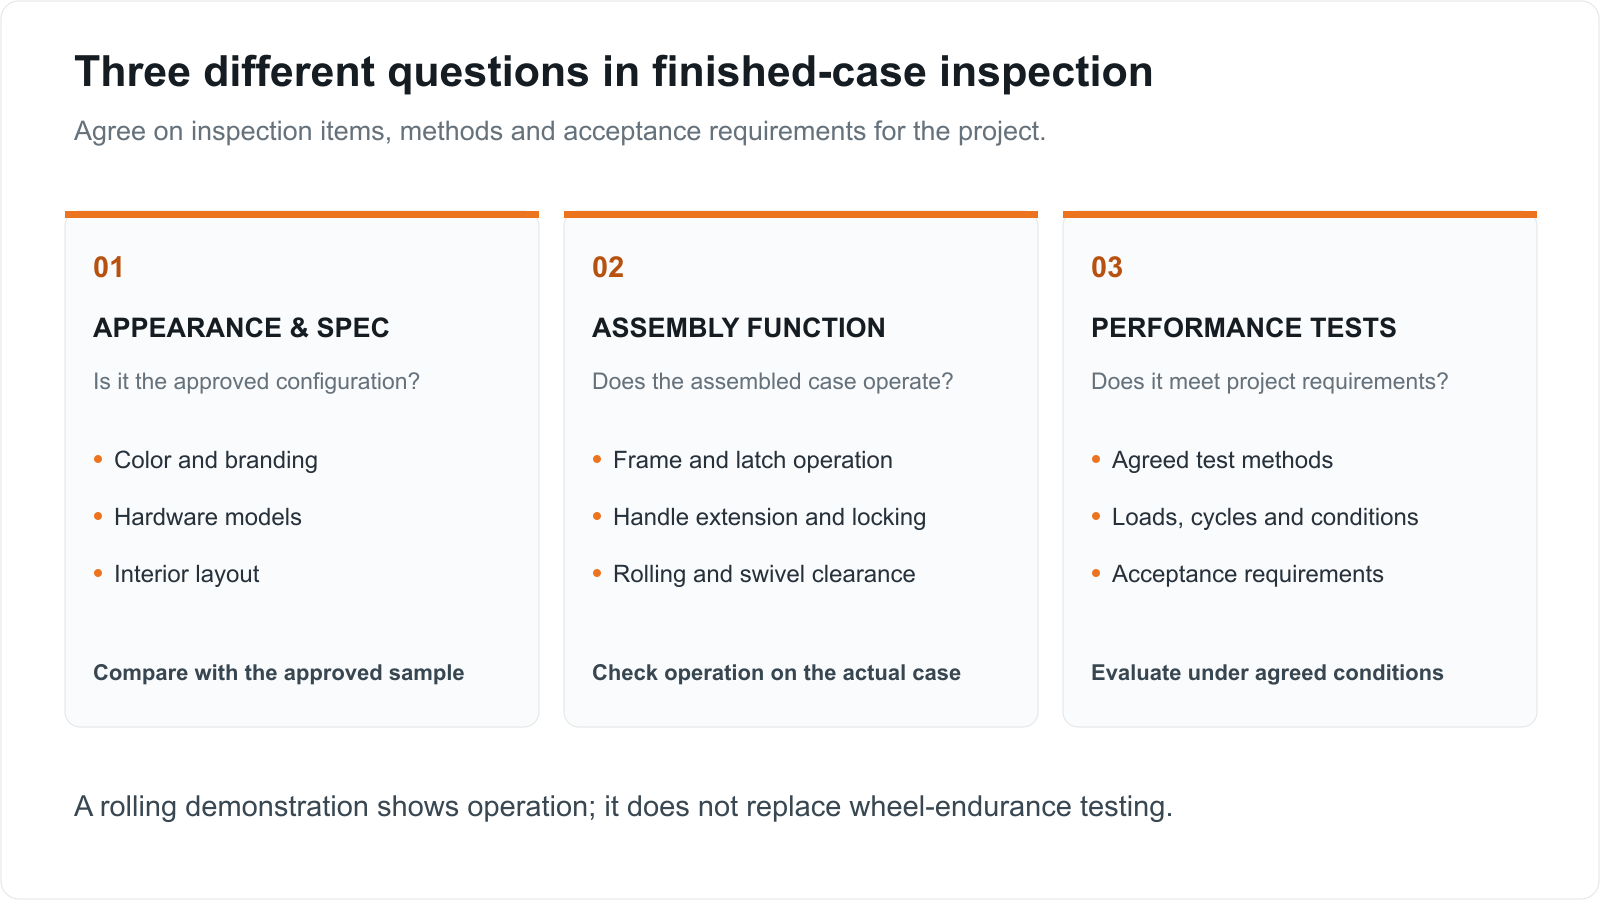
Appearance and configuration checks cover items such as color, branding, hardware models and interior layout. Functional checks can include frame closure, lock operation, handle extension and wheel movement. If your project calls for drop or wheel-endurance testing, the method, conditions and acceptance requirements also need agreement. A rolling demonstration shows operation at that moment; it does not replace an endurance test.
For a remote inspection, list the details and actions you want to see beforehand: the interior configuration, the closed frame, lock operation and handle movement, for example. Physical references remain useful for assessing subtle differences in color and texture.
Agree on corrective action and reinspection before production
We recommend agreeing on a defect-handling process in the order: record the problem and its location, establish which products may be affected, and determine whether rework, replacement or another action is appropriate. Also agree on whether inspection needs to be expanded, how the result will be rechecked and who confirms that shipment requirements have been met.
For example, adjusting one sampled case with a difficult latch does not establish that the remaining cases are free of the same problem. The next question is whether a shared component or assembly issue could affect other units. That determines the scope of further checks and corrective work. Defining the scope and reinspection requirements is more useful than simply agreeing to discuss problems if they arise.
Confirm packaging alongside the sample
We offer branded cartons, gift boxes and customized shipping marks. In addition to the artwork, review how the packaging holds and protects the case, particularly at corners, wheels and handles. Raise retail packaging, nested packing or other specific packing requirements during sampling so package dimensions and protection can be considered before the cases are completed.
Understand Which Production Steps Your Changes Affect
Use the table below to organize your project requirements and identify which parts can be retained and which need further development or validation.
| Planned change | Work to review | What the sample should confirm |
|---|---|---|
| Case depth, corners or panel ribs | Forming tools, frame profile and component positions | Dimensions, assembly fit and normal closure |
| Color, texture or logo | Surface preparation, coloring or branding method, and any mounting holes | The combined appearance of the finished components |
| Wheels, trolley handle or locks | Mounting surfaces, holes, fasteners and operating clearance | Operation on the actual case and agreed project performance |
| Lining, dividers or a fitted insert | Interior dimensions, patterns, fixing points and fit with the contents | Secure positioning, convenient access and normal lid closure |
A component change does not always require new tooling, and using an existing model does not remove the need for sample approval. First identify the affected parts, then establish the fabrication, sampling and inspection work needed for your product.
Aluminum Luggage Manufacturing and Sampling FAQ
How long does sampling an existing model take?
Sampling an existing model takes 20 days. This is the sampling period, not bulk production or shipping time. New shell development and new tooling need a separate project schedule.
Can you develop a new shell from our design?
Yes. We provide CAD design and tooling development. Send drawings, a reference sample or sketches, along with dimensions, the desired shell shape, closure arrangement and hardware requirements, so the appearance and structure can be developed together.
Can we decide the color and logo after the case is assembled?
We recommend deciding them during sampling. Color and texture involve surface processing, and some badges require mounting holes. Waiting until assembly is complete may mean returning to an earlier production step. Changes to existing finished cases need to be assessed against their actual condition.
To develop your aluminum luggage line, send us a reference model, intended dimensions and the details you want to retain or change. Include any drawings, brand artwork or specified components. We can discuss the sampling and production approach for your project through our custom luggage page.
Tell us about your luggage project
Share your preferred model, quantity and customization requirements.